Takes a bit of work but worth it
Windows Update Error Code 0x80070003 prevents you from downloading and installing the latest updates. The cause of the issue isn’t always clear, especially if you just get this cryptic code.
Unlike many Windows update error codes, fixing error code 0x80070003 usually means resolving an issue on your local PC. Once you remove the underlying problem, updates should work as expected.
The Main Causes of Error Code 0x80070003
If you see this error when attempting a Windows Update, there are four main reasons:
- Corrupt system files could be the issue since the update tool relies on system files to work correctly. This could also include corruption in the Windows Update cache, which we’ll discuss separately below.
- The Windows update process is complex and relies on several Windows services to work smoothly. If any of these related services are disabled or malfunctioning, it can prevent an update from completing successfully.
- The Windows Registry might have configuration problems, which can be resolved by editing the Registry. With caution!
- Windows Update consists of various subcomponents. If any of these components are broken or missing, it creates issues when completing an update.
Error Code 0x80070003 Variations
Curiously, the 0x80070003 code accompanies several specific human-readable error messages, suggesting it’s a family of related errors rather than a particular problem.
“We couldn’t install this update, but you can try again (0x80070003)” is probably the most common one, and restarting the system often makes the error go away.
“Windows failed to install the following update with error 0x80070003” is a little tougher to figure out, and a mere restart of the operating system probably won’t fix the issue. Most of the fixes offered here are aimed at resolving this error.
Other errors with the same code aren’t related to Windows Update directly. For example, “Error 0x80070003 the system cannot find the path specified” usually happens because of a disconnected or damaged drive. This article will only focus on the Windows Update errors with this error code.
1. Restart Windows
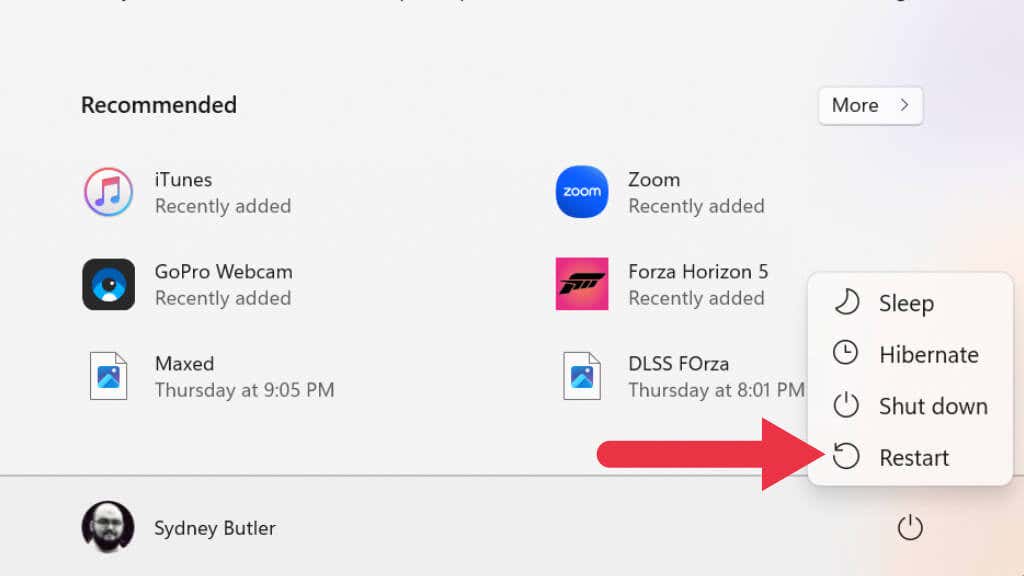
As always, the first thing you should do is restart your PC and rerun the update. If you haven’t restarted your system in a while, some services needed by Windows might have frozen or closed. Restarting your system will either resolve the problem or indicate that the problem is more permanent.
2. Disable Third-Party Firewall and Antivirus Software
These programs might interfere with Windows updates if you’re using something other than Windows’ included antivirus and firewall software. To rule this out, disable them and attempt the update again.
3. Use the Windows Update Troubleshooter
Windows 10 and 11 have various specialized troubleshooters that can fix errors in Windows without complex manual troubleshooting. In this case, the troubleshooter you’ll want to run is the Windows Update Troubleshooter, but the specific location of the app differs depending on which version of Windows you’re using.
Windows 10 users should go to Start > Settings > Update & Security > Troubleshoot > Additional troubleshooters. Then under Get up and running, select Windows Update > Run the troubleshooter.
Windows 11 users should go to Start > Settings > System > Troubleshoot > Other troubleshooters. Then under Most frequent, select Windows Update > Run.
After running the troubleshooter, assuming that it changed anything, restart your computer and see if the update issue is resolved.
4. Try The Update Assistant
If the troubleshooter does not work and you’re running Windows 10, you can try the Windows 10 Update Assistant to force updates using an external program.
5. Clear The Software Distribution Folder
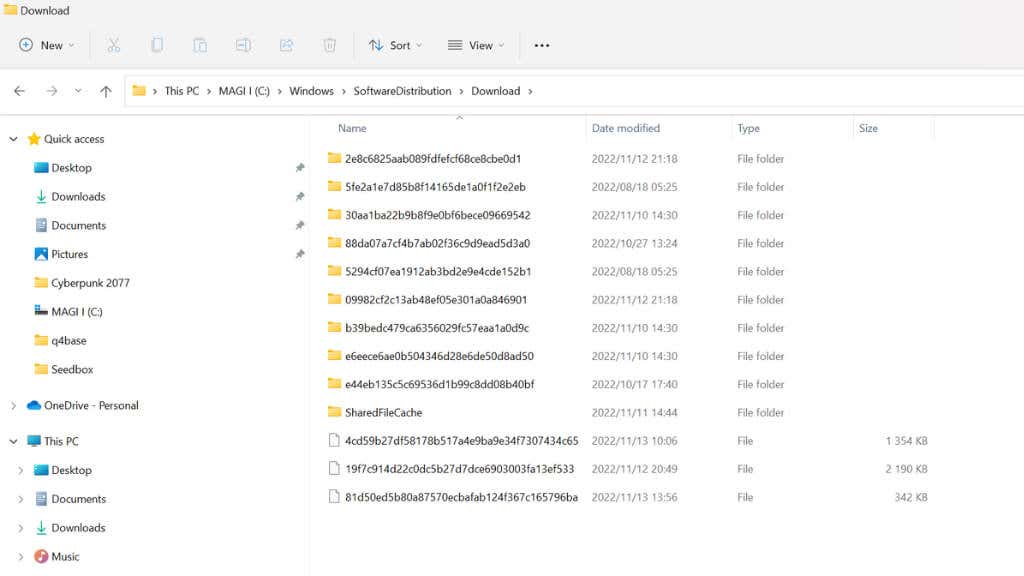
If there’s an issue with the temporary update files generated throughout your update history, you can clear the download folder where they are stored:
- Press Windows + R to open the Run dialog box.
- Type cmd and press Ctrl + Shift + Enter to run it in admin mode.
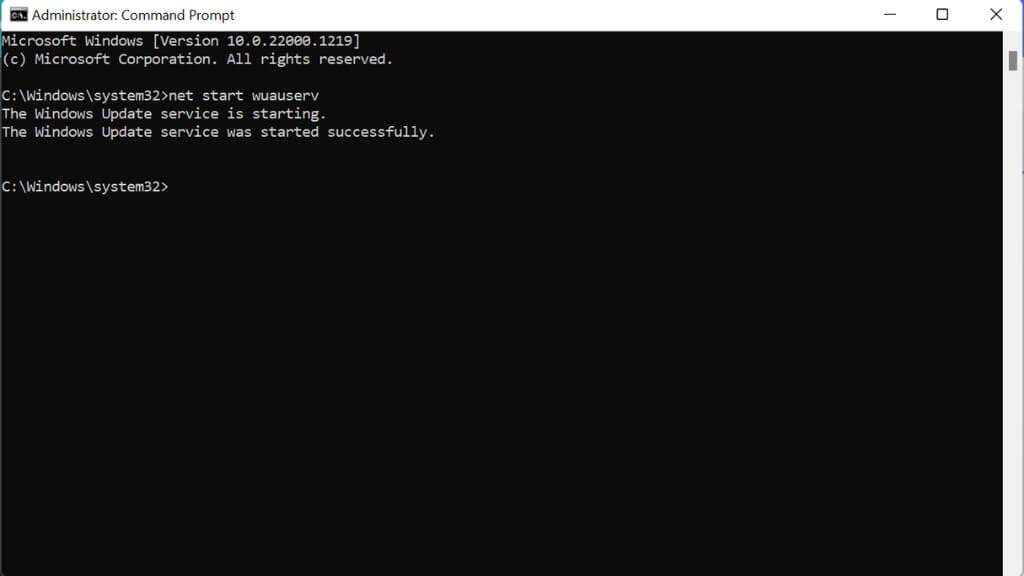
- Type net stop wuauserv into Command Prompt and press Enter.
- Use File Explorer to delete the contents of the following directory:
C:\WINDOWS\SoftwareDistribution\Download
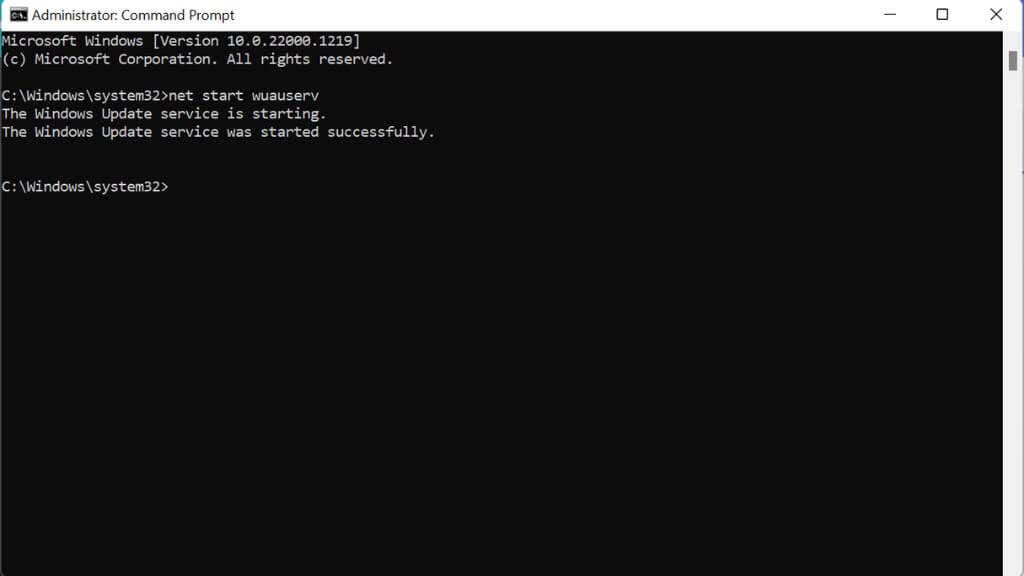
- Type net start wuauserv into Command Prompt and press Enter.
Try Windows Update again and see if the problem is resolved.
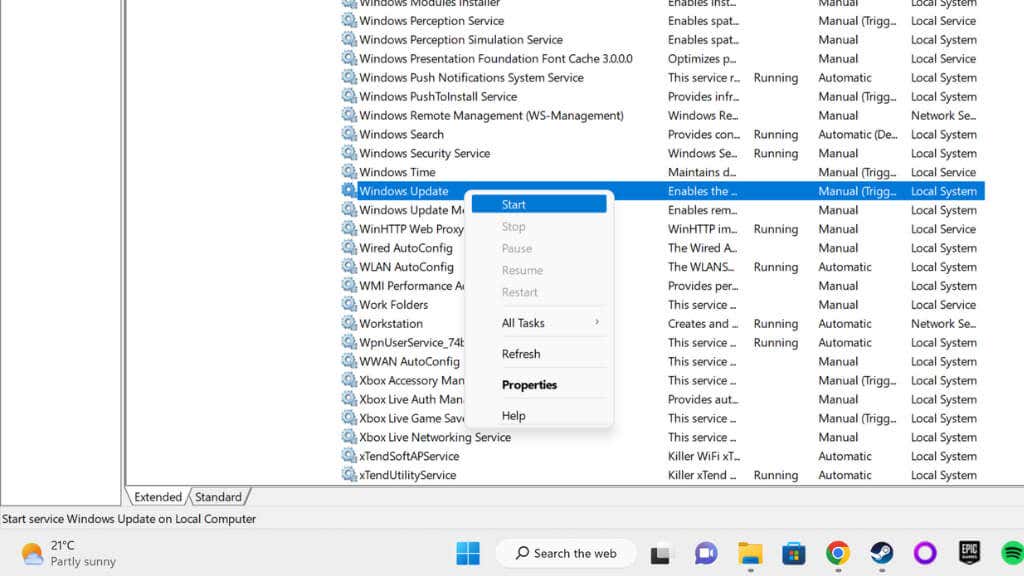
6. Manually Stop and Restart the Windows Update Service
The main service that makes updates work is the Windows Update Service. You can manually stop and restart this service to try and get it working again.
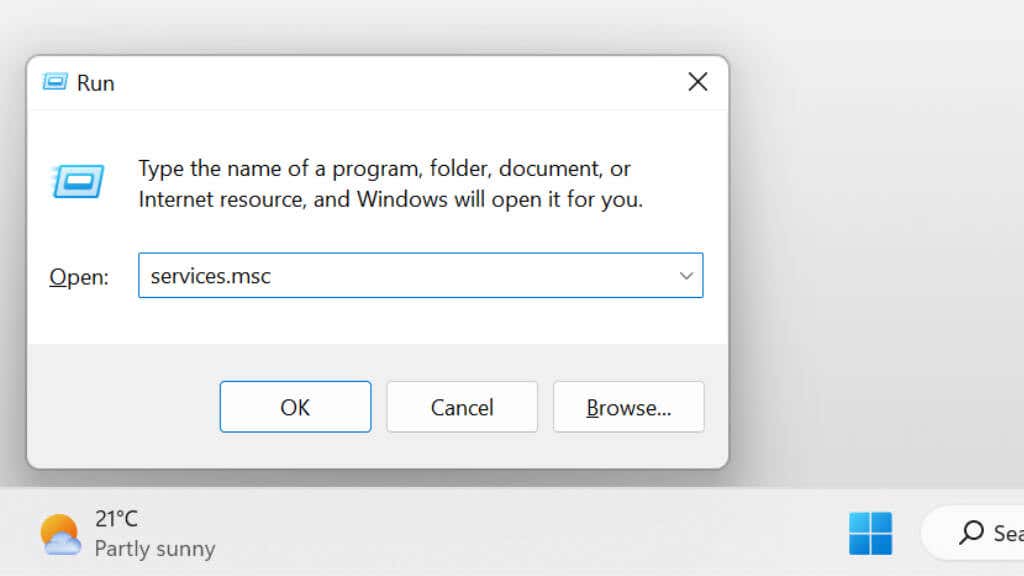
- Press Windows + R to open the Run dialog box.
- Type services.msc and press Enter.
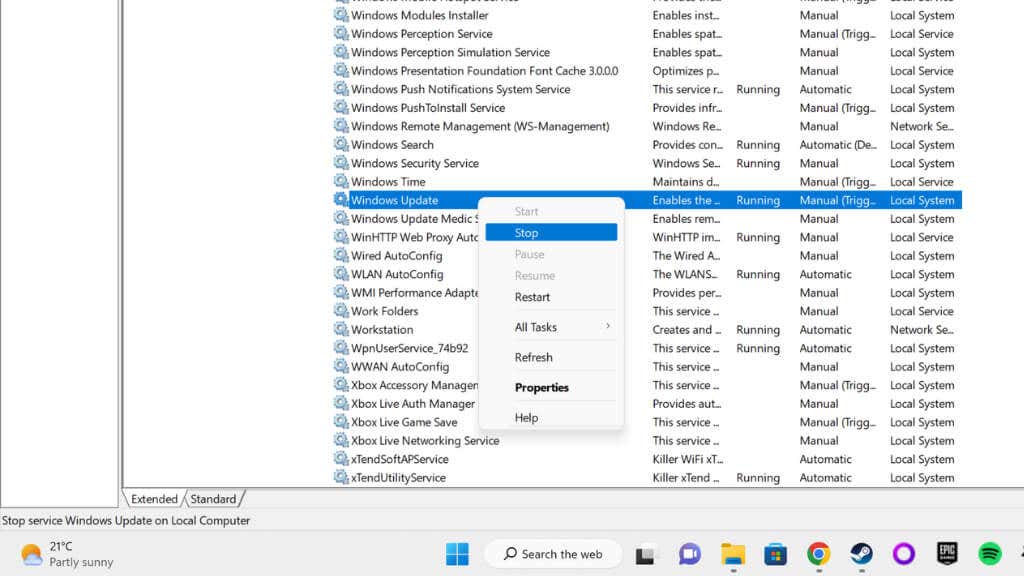
- Look for the Windows Update service.
- Right-click it, and select Stop.
- Restart your PC.
- Repeat steps 1 and 2.
- Look for the Windows Update service, right-click it, and select Start.
Try updating again.
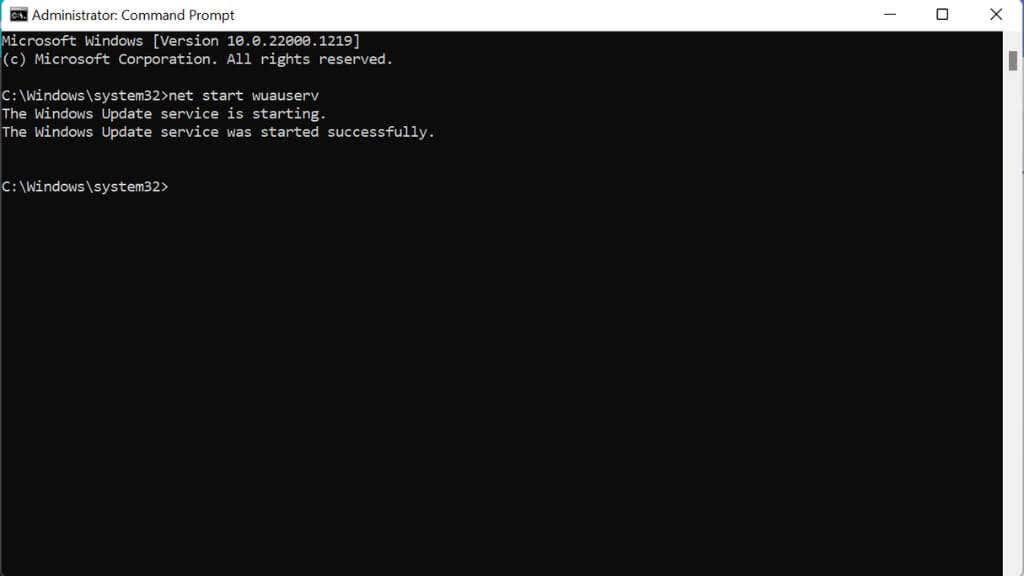
If you prefer to use the Command Line, here’s how to achieve the same result:
- Press Windows + R to open the Run dialog box.
- Type cmd and press Ctrl + Shift + Enter to run it in admin mode.
- Type net stop wuauserv and press Enter.
- Restart your PC.
- Repeat steps 1 and 2.
- Type net start wuauserv and press Enter.
Now try updating again.
7. Check For Corrupted System Files
To check that your current Windows installation is still clean and whole, it’s a good idea to check your system files for corruption. You can do this by running the System File Checker (sfc /scannow) or DISM tool from the Command Prompt.
Check out our guide to fix corrupt system files or our advanced guides for the SFC and DISM commands for more information on these procedures.
8. Free Up Drive Space
Windows Update needs room to work. If your system hard drive is too full, the temporary update files have nowhere to go. If you’re low on space, you can uninstall some large apps or delete media files, move them to external drives, and generally clean up your unused data or caches.
If you’re unsure how to get more free space in Windows, check out 15 Ways to Free Up Disk Space in Windows 10.
9. Check The Registry For Errors
A misconfigured Windows Registry is often behind this error.
Warning: There’s always a measure of risk when modifying the Registry. If you haven’t worked with it before, check out our guide to using the Windows Registry. And always back up your Registry before making any edits.
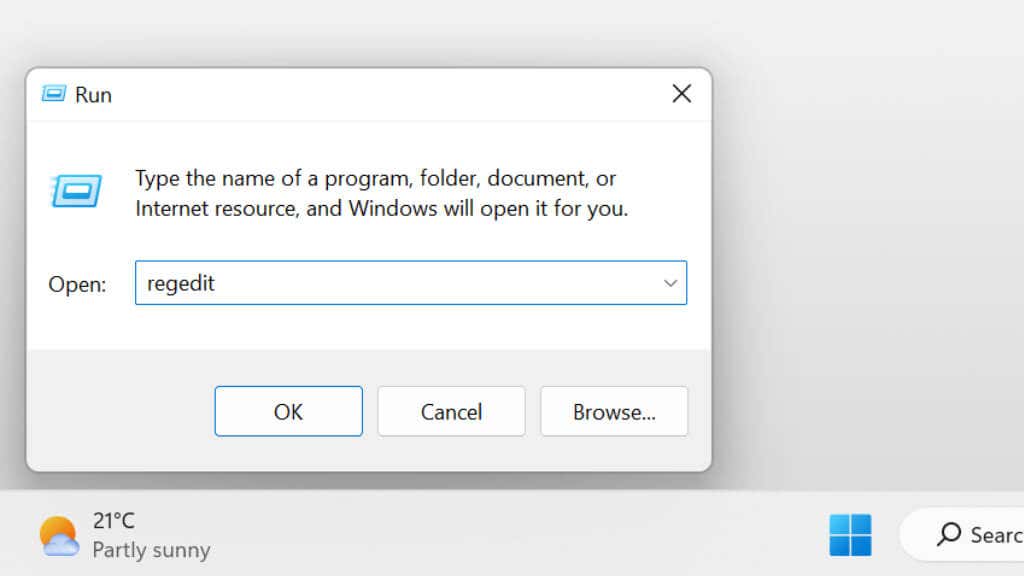
- Press Windows + R to open the Run dialog box.
- Type regedit and press Enter.
- Copy the following text and paste it into the Registry address bar:
HKEY_LOCAL_MACHINE\SYSTEM\CurrentControlSet\Services\WIMMount and press Enter
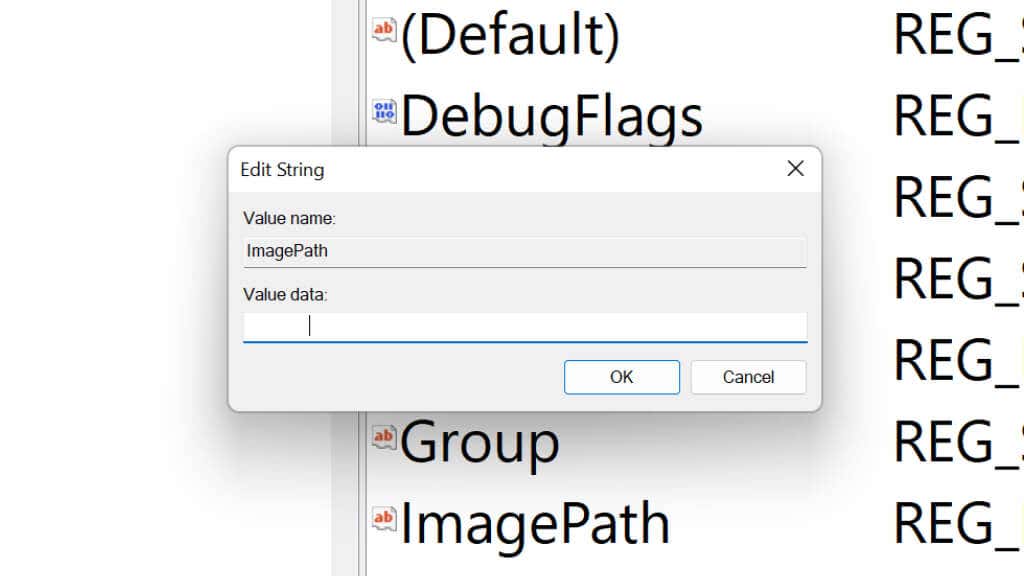
- Double-click ImagePath to open the registry key.
- Check that system32\drivers\wimmount.sys is listed under Value data. If not, change it and select OK.
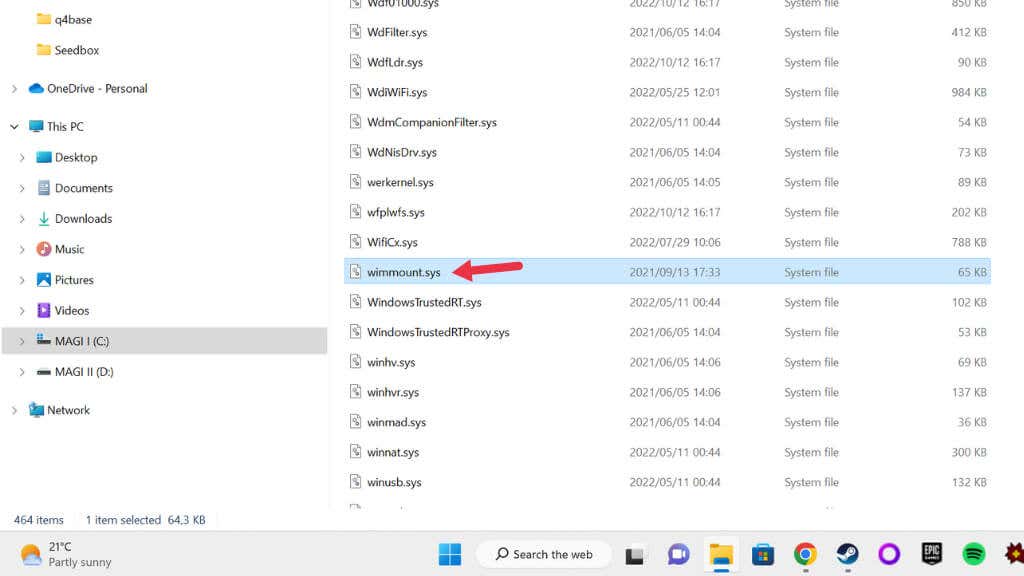
- Open Windows File Explorer and go to C:\Windows\System32\drivers\ (assuming your system drive is Drive C).
- Check that wimmount.sys is present in this folder. If not, refer to section 5 above and repair your system files.
- Restart the computer and try rerunning Windows Update.
10. Reset Windows Update Components Manually
While the Windows Update Troubleshooter usually resets Windows Update components automatically in the background, if it fails to resolve your problem, you may want to attempt resetting them manually. This should be a last resort since it’s a complex process with many steps.
- Press the Start Button.
- Type Command Prompt.
- When Command Prompt appears in the results, right-click it and select Run as Administrator.
- When asked, confirm that you want to run Command Prompt as Admin.
- Type net stop bits and press Enter.
- Type net stop wuauserv and press Enter.
- Type net stop cryptsvc and press Enter.
- Delete the qmgr*.dat files by typing the following command in the Command Prompt and pressing Enter:
Del “%ALLUSERSPROFILE%\Application Data\Microsoft\Network\Downloader\qmgr*.dat”
Note: In case you’re wondering, “BITS” is the Background Intelligent Transfer Service and “cryptsvc” is Cryptographic services.
- Now we’ll have to reregister the BITS files. Type cd /d %windir%\system32 in Command Prompt and press Enter.
- Now you’ll have to register each of these components individually. Put each line of code into Command Prompt one by one and then press Enter after each one.
regsvr32.exe atl.dll
regsvr32.exe urlmon.dll
regsvr32.exe mshtml.dll
regsvr32.exe shdocvw.dll
regsvr32.exe browseui.dll
regsvr32.exe jscript.dll
regsvr32.exe vbscript.dll
regsvr32.exe scrrun.dll
regsvr32.exe msxml.dll
regsvr32.exe msxml3.dll
regsvr32.exe msxml6.dll
regsvr32.exe actxprxy.dll
regsvr32.exe softpub.dll
regsvr32.exe wintrust.dll
regsvr32.exe dssenh.dll
regsvr32.exe rsaenh.dll
regsvr32.exe gpkcsp.dll
regsvr32.exe sccbase.dll
regsvr32.exe slbcsp.dll
regsvr32.exe cryptdlg.dll
regsvr32.exe oleaut32.dll
regsvr32.exe ole32.dll
regsvr32.exe shell32.dll
regsvr32.exe initpki.dll
regsvr32.exe wuapi.dll
regsvr32.exe wuaueng.dll
regsvr32.exe wuaueng1.dll
regsvr32.exe wucltui.dll
regsvr32.exe wups.dll
regsvr32.exe wups2.dll
regsvr32.exe wuweb.dll
regsvr32.exe qmgr.dll
regsvr32.exe qmgrprxy.dll
regsvr32.exe wucltux.dll
regsvr32.exe muweb.dll
regsvr32.exe wuwebv.dll
- Once you’ve registered every component, type netsh winsock reset into Command Prompt and Press Enter.
- Now we have to restart the three services we stopped before, so enter the following commands:
Type net start bits and press Enter.
Type net start wuauserv and press Enter.
Type net start cryptsvc and press Enter.
For good measure, restart your computer and then try Windows Update again.


