It’s frustrating when Surface won’t turn on or boot into Windows, but the issue can be quickly resolved. This article highlights troubleshooting solutions for Surface devices stuck on the Windows logo or black screen.
Problems with your Surface hardware or power supply could cause it to remain on the Windows logo screen during startup. Surface devices can also get stuck on the startup screen or in a boot loop while docked or installing updates. Follow the troubleshooting tips below to boot your Surface into Windows.
1. Wait for Updates to Install
Does your Surface reboot and get stuck on the Windows logo screen while installing driver or Windows updates? You might have to wait for your device to finish installing the updates before it boots past the screen.
Microsoft says it could take up to 20 minutes for Surface devices to install large updates. Try the next troubleshooting step if your Surface remains on the Windows logo screen after 20 minutes.
2. Charge Your Surface
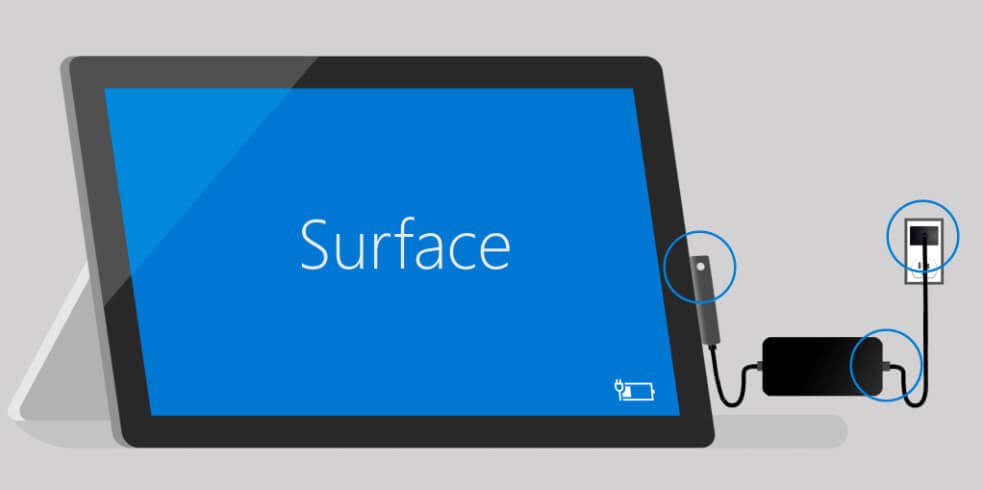
Surface devices might fail to install updates and get stuck on the Windows logo screen on a low battery. Ensure your Surface has at least 40 percent battery before installing updates that require a reboot. Alternatively, connect your Surface to a power source while it reboots or installs an update.
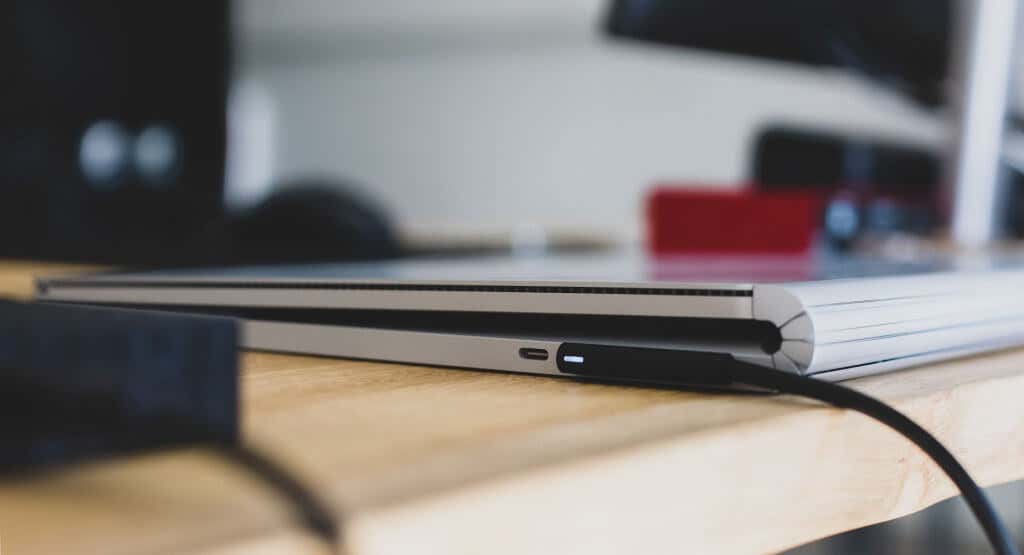
We recommend using the power supply that shipped with your Surface device or authentic Microsoft-branded charging accessories.
If your Surface charger has a USB charging port, connecting a device to the port can interrupt your Surface’s boot process—especially if your Surface’s battery is dead or faulty. Disconnect any device plugged into your power supply’s charging port and check if your Surface boots successfully.
3. Disconnect External Accessories and Devices
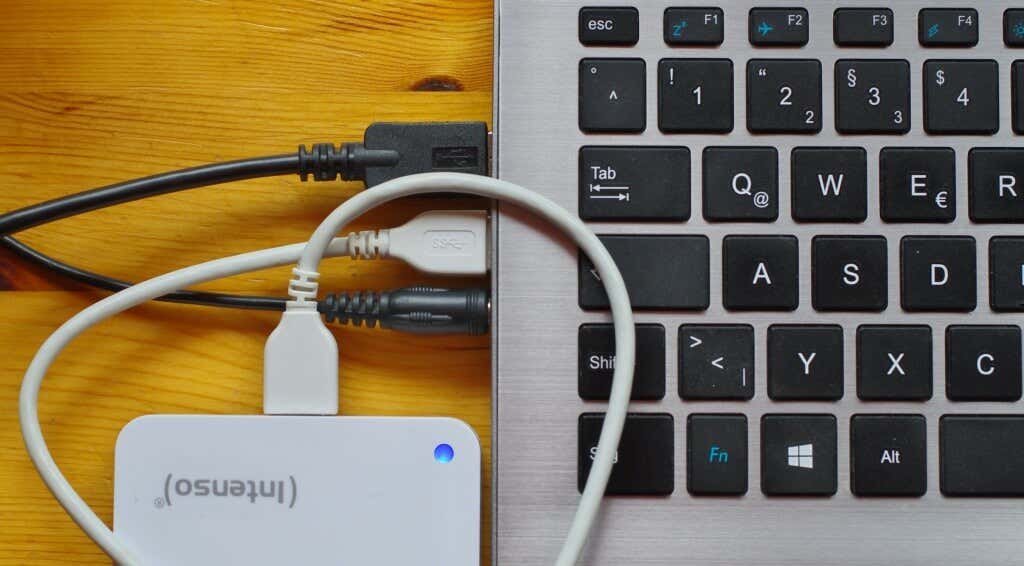
External devices or peripherals (USB flash drive, Type Cover, external display, Surface Dock, etc.) can disrupt your Surface boot process. Unplug devices connected to your Surface and wait a few minutes for it to boot past the Windows logo screen.
If your Surface is charging, ensure no other device is connected to the USB port on the power supply. You can also try disconnecting the power supply and check if your Surface boots on battery power. Force restart your Surface if it’s still stuck on the Windows logo screen.
4. Force Restart or Soft Reset Your Microsoft Surface
If your Surface becomes unresponsive during boot or usage, initiating a soft reset should get it working again. Performing a soft reset entails forcefully shutting down your Surface and turning it back on.
A soft reset clears your Surface’s memory and refreshes its operating system. How you force-restart your Surface will depend on its model and configuration.
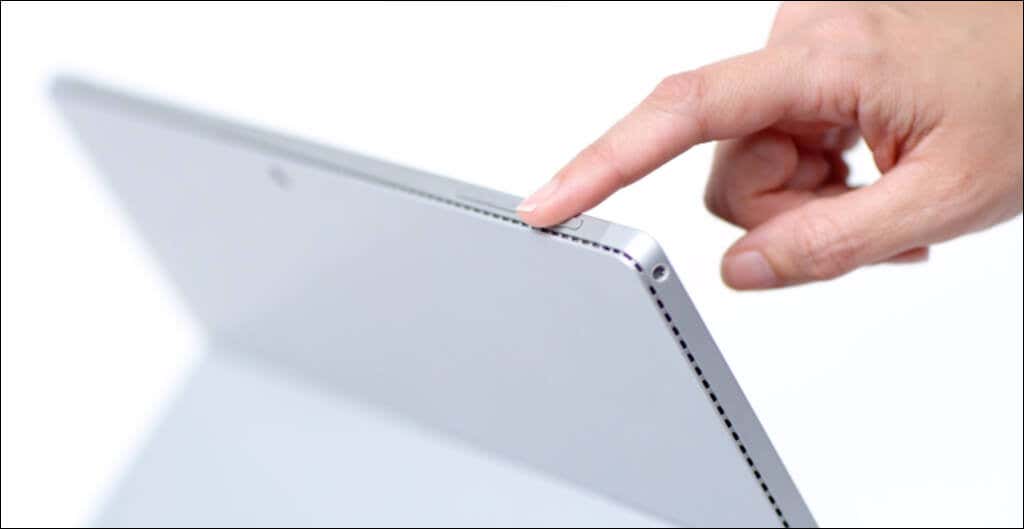
Force Restart Surface Using Power Button
For newer Microsoft Surface laptops and desktop models, holding the Power button for 20-30 seconds should force them to restart.
Follow the steps in the next section to force-restart older Surface models using the “Two-button shutdown” method.
Force Restart Microsoft Surface Using the Two-Button Method
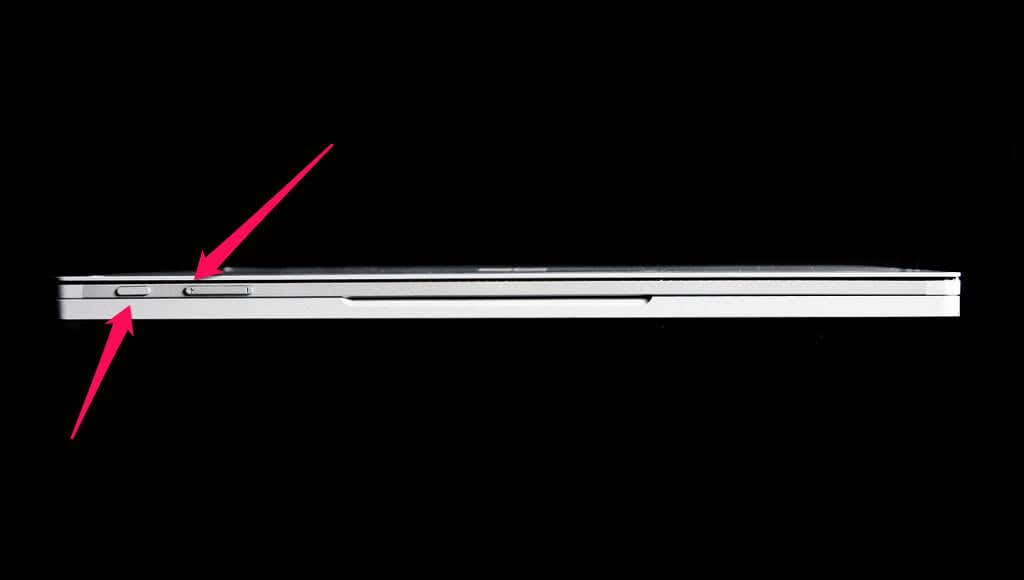
The steps below apply to the following Surface models: Surface RT, Surface Book, Surface 2, Surface 3, Surface Pro, Surface Pro 2, Surface Pro 3, and Surface Pro 4.
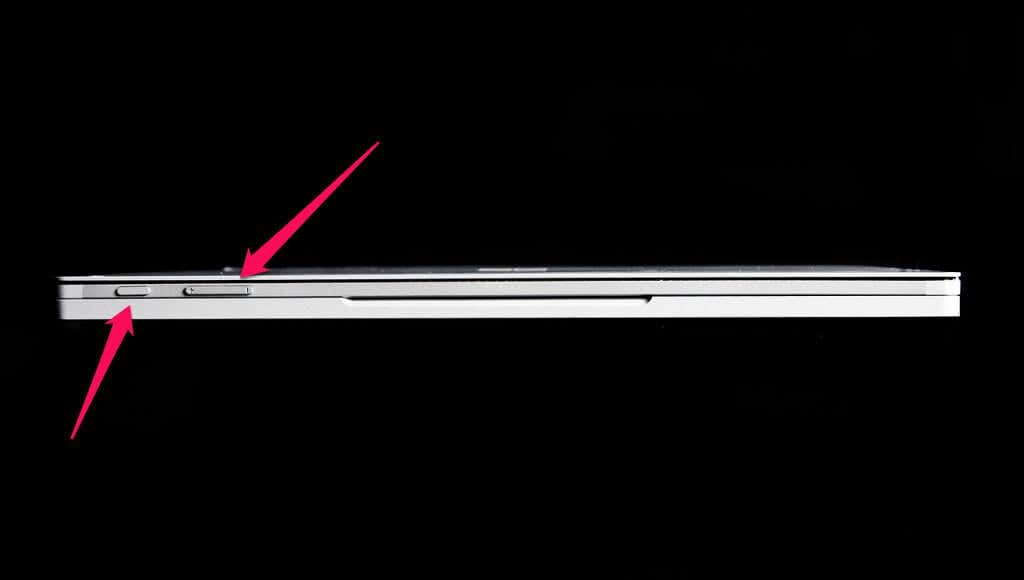
- Press and hold the Power and Volume Up button for about 15 seconds.
- Your Surface may flash the Surface logo while you hold both buttons. Release the buttons only when your Surface’s screen turns off, and wait ten seconds.
- Press the Power button to turn on your Surface and wait for it to boot past the Surface/Windows logo.
5. Hard Reset Your Surface
Factory reset your Surface using a USB recovery drive if it gets stuck on the Windows logo screen. The process is called a “hard reset,” as it deletes everything on your Surface—apps, personal files, and settings.
With a recovery drive, you can boot into Windows or reset your Surface even if it doesn’t start.
- Download a recovery image for your Surface using another Surface or Windows PC. Save the recovery image on a new or empty USB 3.0 drive with at least 16GB of free storage.
Note: You must sign in to your Microsoft account and provide your Surface’s serial number to download a recovery image from Microsoft’s website.
- Use the “Recovery Media Creator” or “Recovery Drive” tool to convert the USB drive to a recovery drive. See our tutorial on Creating a Windows 11 Recovery USB Drive for step-by-step instructions.
- Shut down your Surface, insert the recovery drive in the USB port, and connect it to a power source.
- Press and hold your Surface’s Volume Down button, then press and release the Power button.
- Release the Volume Down button when the Surface or Microsoft logo appears on the screen.
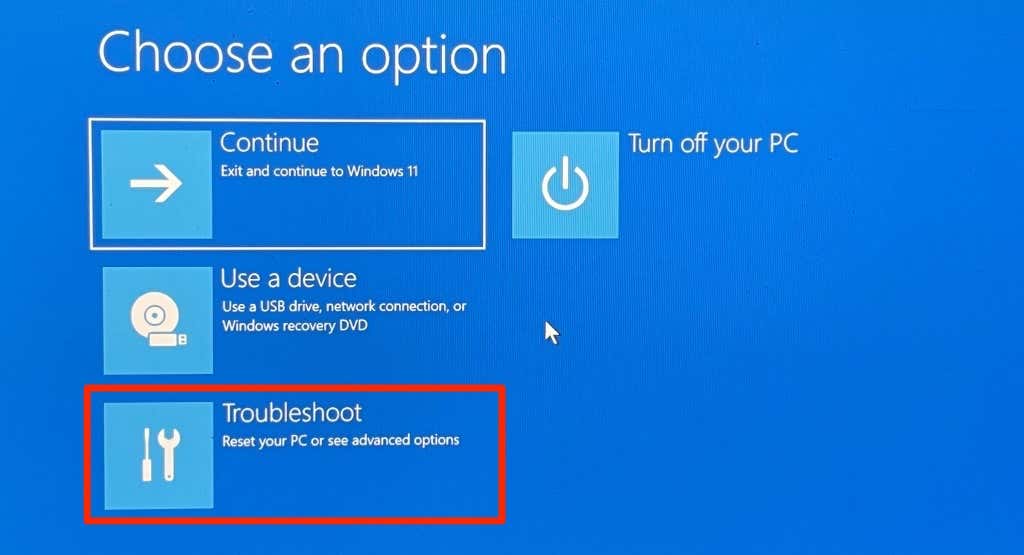
- You might get a prompt to choose a preferred language and keyboard layout. Select Troubleshoot or Recover from a drive on the next screen to proceed.
Note: Select Skip this drive if prompted to provide a recovery key.
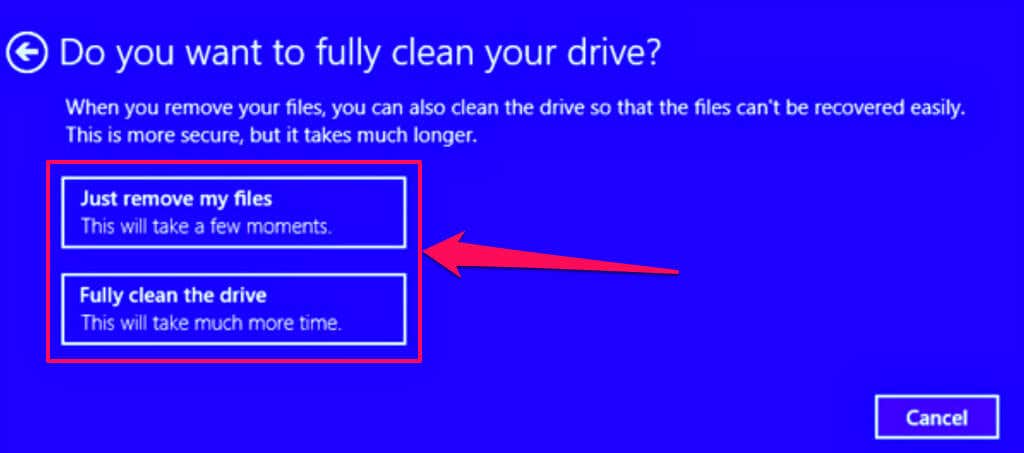
- Choose a reset option on the next page. Microsoft recommends Fully clean the drive when resetting your Surface to sell or recycle. Otherwise, select Just remove my files if you’re troubleshooting an issue.
- Select Recover to start the factory reset.
The reset process takes several minutes. Your Surface will reboot and display the Surface logo while it resets.
Revive Your Surface
Microsoft recommends installing the latest driver and firmware updates for Surface and Windows when your Surface reboots. That’ll help remove software bugs and resolve underlying glitches causing your Surface to malfunction.
Damage to certain hardware components (hard drive, motherboard, etc.) could result in intermittent startup failure. Contact Microsoft Surface if your Surface won’t boot beyond the Windows logo after trying the troubleshooting fixes above.
If you reside in the United States, India, China, or Japan, visit a Microsoft walk-in center to service or repair your Surface.


