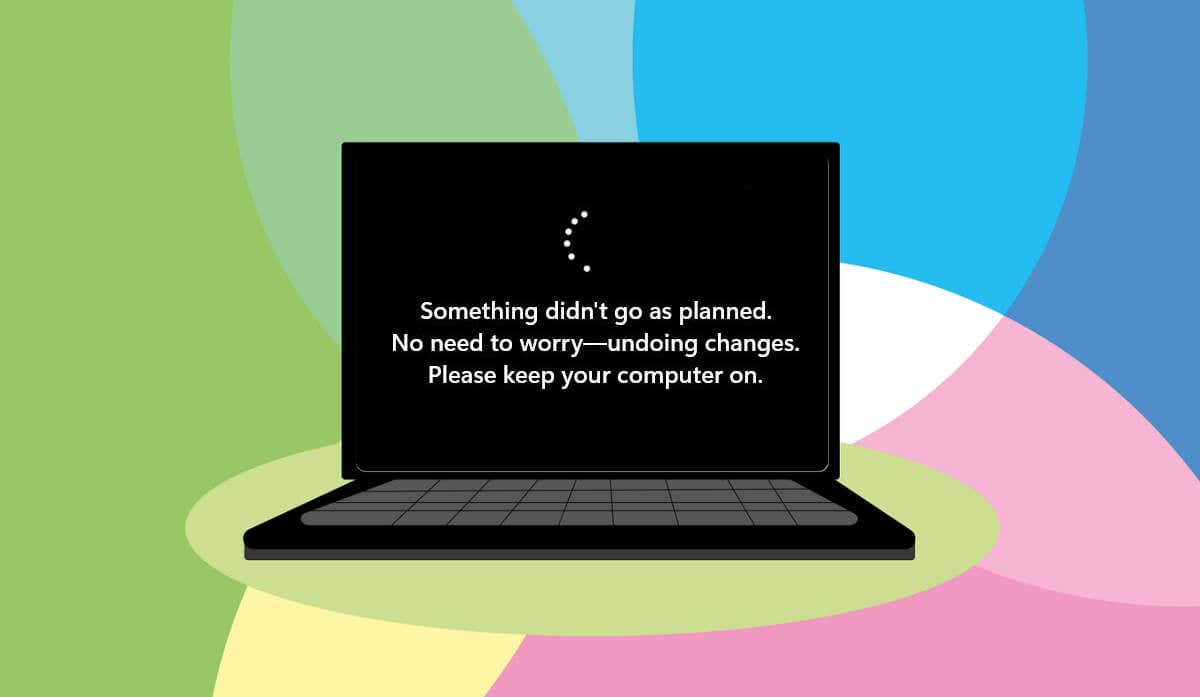
Windows displays the “Something didn’t go as planned. No need to worry—undoing changes.” message when it hits a roadblock updating your computer’s operating system. System file corruption and interference from conflicting software are some causative factors.
Luckily, the Windows Update issue is relatively easy to fix. Wait for your computer to boot, and take the troubleshooting steps below.
Run Windows Update Troubleshooter
Running the Windows Update troubleshooter should be your first action to fix Windows Update errors. The troubleshooter can diagnose and resolve issues causing the “Something didn’t go as planned.” error.
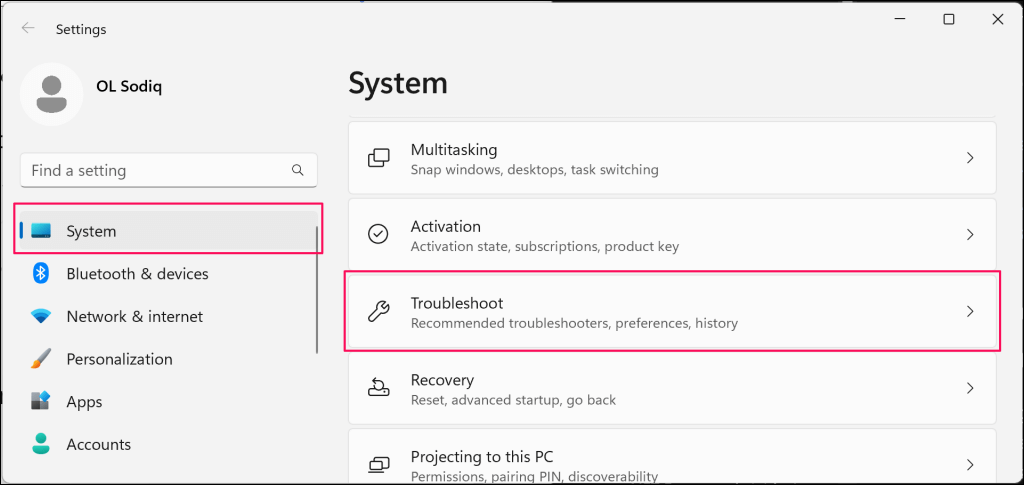
- Open the Windows Settings app, select System on the sidebar, and choose Troubleshoot.
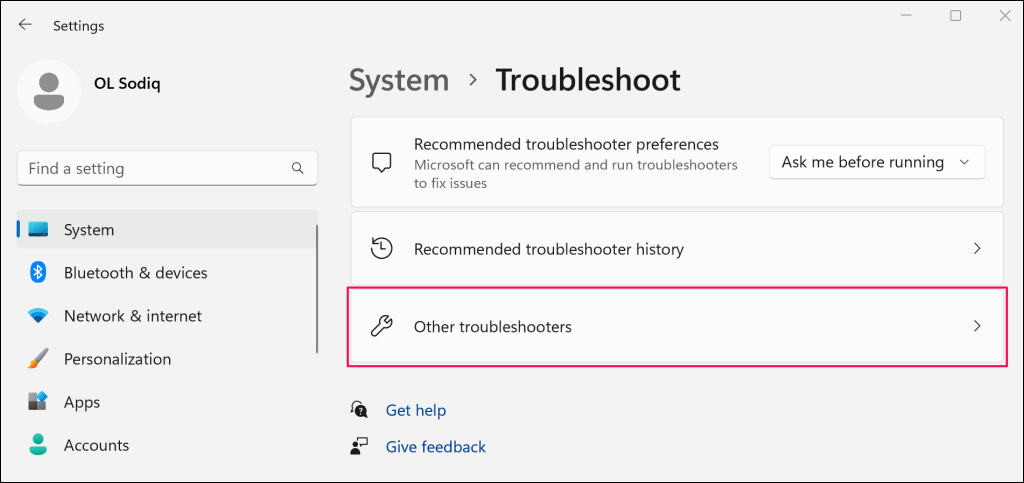
- Select Other troubleshooters in the “Options” section.
- Select the Run button next to “Windows Update.”

Microsoft recommends restarting your computer when the troubleshooter completes its diagnosis and applies any fixes.
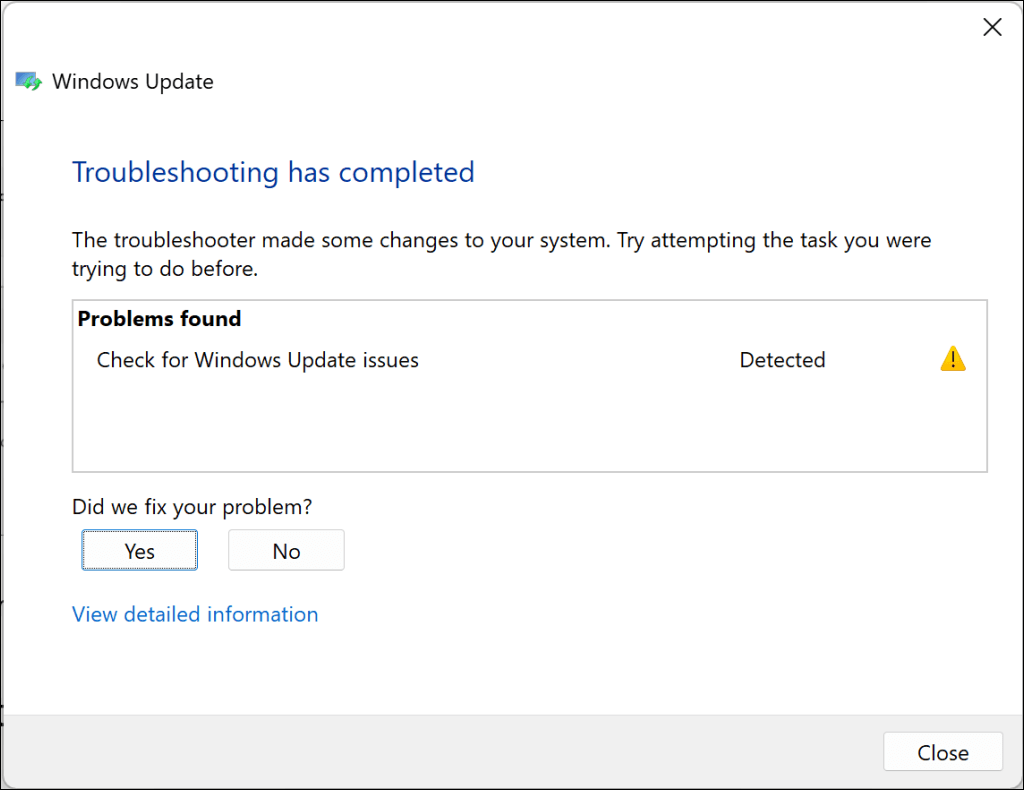
You can also rerun the troubleshooter when your PC comes back on to check for additional errors. Try reinstalling the update after rerunning the Windows Update troubleshooter.
Run the System File Checker
The System File Checker (SFC) can repair or restore corrupt system files interrupting Windows Updates processes. Connect your computer to a Wi-Fi network and follow the steps below to run an SFC scan.
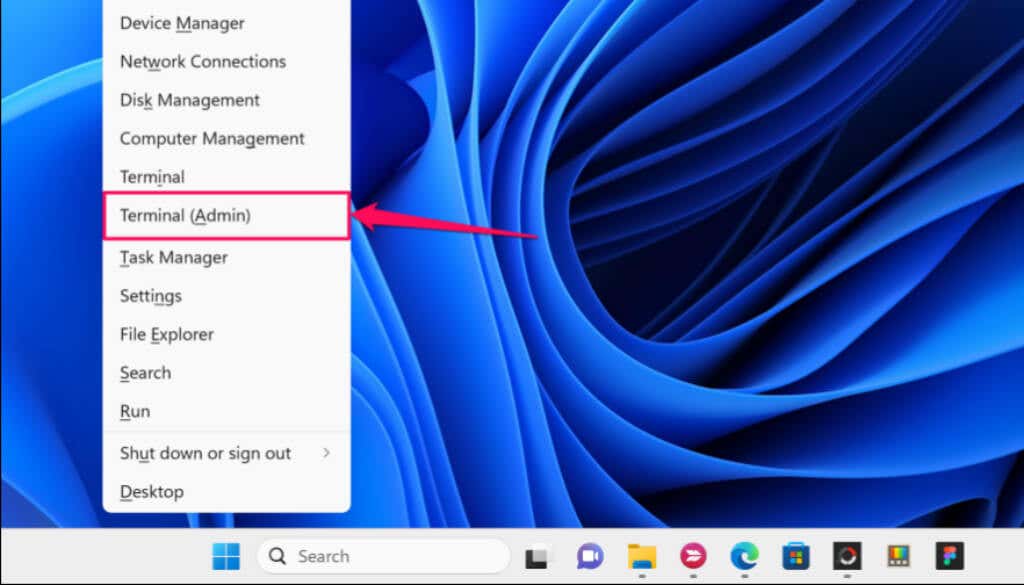
- Right-click the Windows logo on the taskbar and select Terminal (Admin).
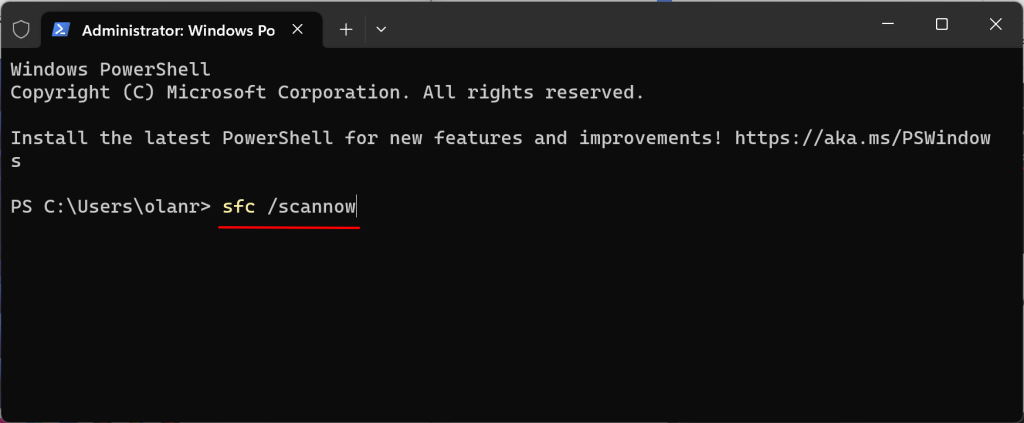
- Type sfc /scannow in the console and press Enter.
Wait 10-15 minutes for the scan results. Reinstall the update if you receive a “Windows Resource Protection found corrupt files and successfully repaired them.” message.
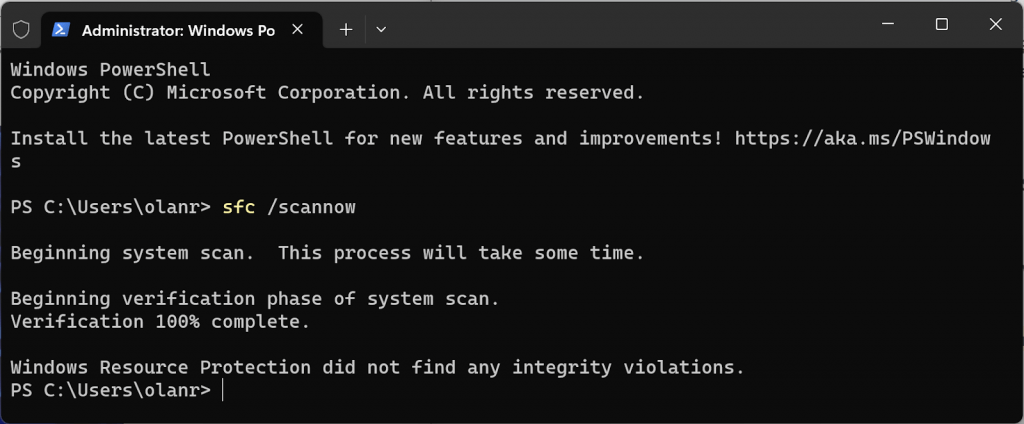
“Windows Resource Protection doesn’t find any integrity violations.” means your PC has no corrupt system file—take the next troubleshooting step if you receive this message.
Reset Windows Update Components
Windows Update components are files and services that help your computer detect, download, and install Windows and app updates. Follow the steps below to reset Windows Update components on your computer manually.
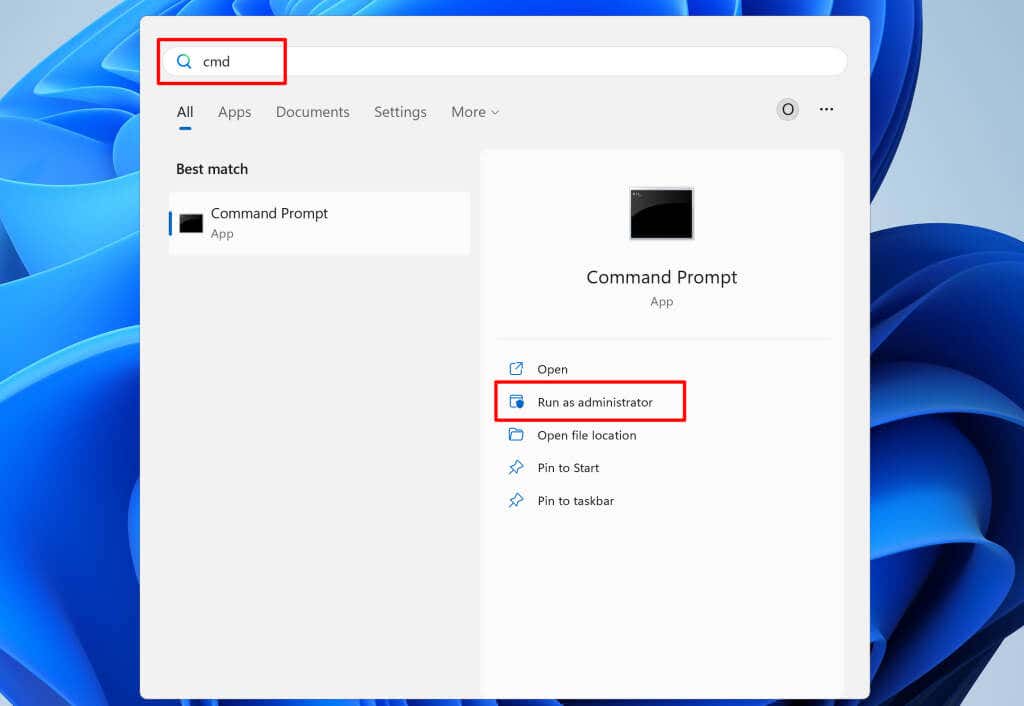
- Open the Start menu, type cmd in the search bar, and select Run as administrator below Command Prompt.
- Run the following commands consecutively in the Command Prompt console.
net stop wuauservnet stop bitsnet stop cryptsvcThe commands terminate the Windows Update, Background Intelligent Transfer Service, and Cryptographic services.
- Next, type or paste cd /d %windir%\system32 in the console and press Enter.

- Run the following commands to reregister the BITS and Windows Update DLL files in the Windows Registry.
regsvr32.exe atl.dllregsvr32.exe urlmon.dllregsvr32.exe mshtml.dllregsvr32.exe shdocvw.dllregsvr32.exe browseui.dllregsvr32.exe jscript.dllregsvr32.exe vbscript.dllregsvr32.exe scrrun.dllregsvr32.exe msxml.dllregsvr32.exe msxml3.dllregsvr32.exe msxml6.dllregsvr32.exe actxprxy.dllregsvr32.exe softpub.dllregsvr32.exe wintrust.dllregsvr32.exe dssenh.dllregsvr32.exe rsaenh.dllregsvr32.exe gpkcsp.dllregsvr32.exe sccbase.dllregsvr32.exe slbcsp.dllregsvr32.exe cryptdlg.dllregsvr32.exe oleaut32.dllregsvr32.exe ole32.dllregsvr32.exe shell32.dllregsvr32.exe initpki.dllregsvr32.exe wuapi.dllregsvr32.exe wuaueng.dllregsvr32.exe wuaueng1.dllregsvr32.exe wucltui.dllregsvr32.exe wups.dllregsvr32.exe wups2.dllregsvr32.exe wuweb.dllregsvr32.exe qmgr.dllregsvr32.exe qmgrprxy.dllregsvr32.exe wucltux.dllregsvr32.exe muweb.dllregsvr32.exe wuwebv.dll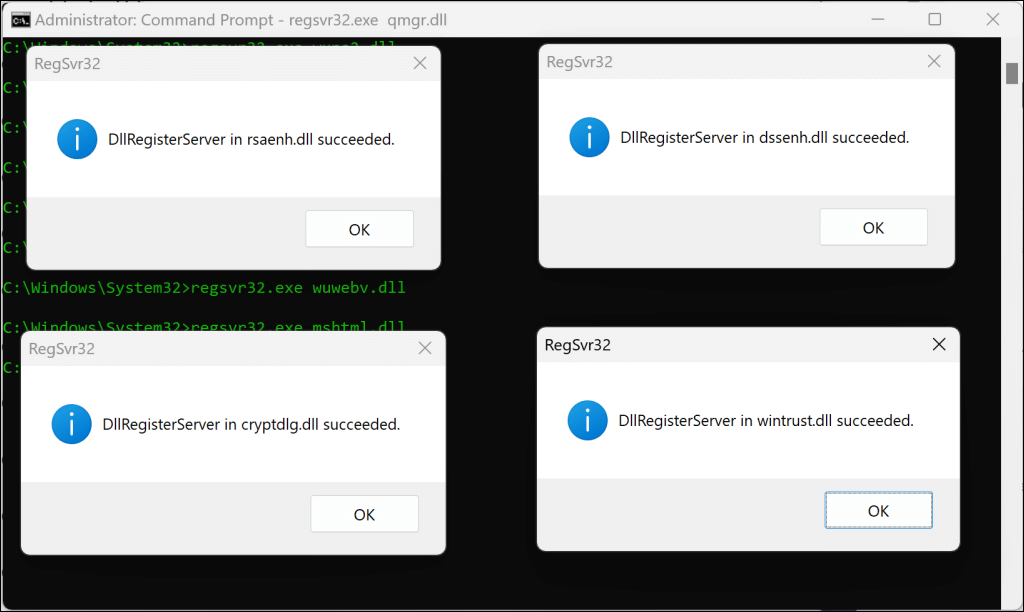
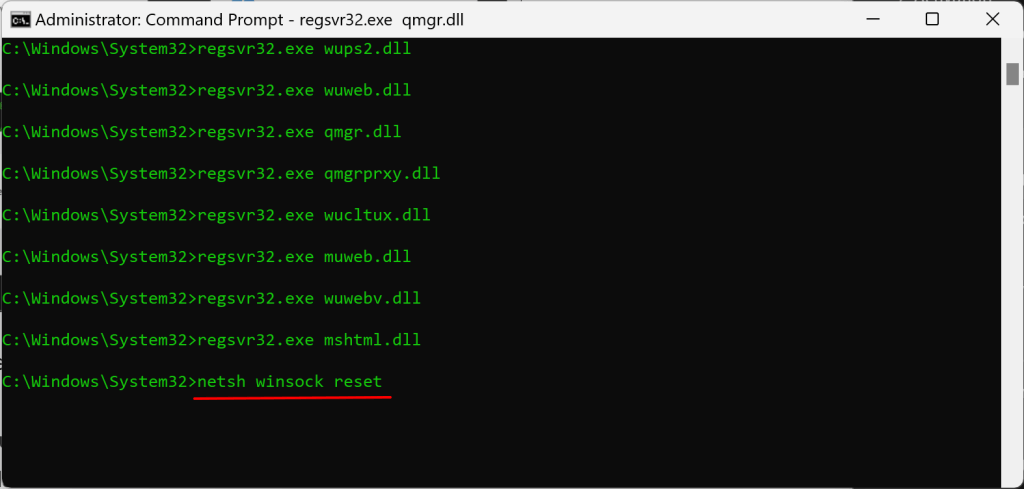
You should get a success message pop-up after running each command. The next step is to reset the Windows Socket (Winsock). That’ll fix issues preventing your device from connecting to the internet or downloading Windows Updates.
- Type or paste netsh winsock reset in the Command Prompt console and press Enter.
Reboot your computer when you see a “Successfully reset the Winsock Catalog” message, and try installing the Windows Update.
Clear Windows Update Cache
Files in the SoftwareDistribution folder help your computer update its operating system. Windows downloads the files automatically from Microsoft’s servers to swiftly execute the installation of Windows Update.
You might encounter Windows Update errors if the cache files in the SoftwareDistribution folder get corrupted. Delete Windows Update cache files if the “Something didn’t go as planned” error persists.
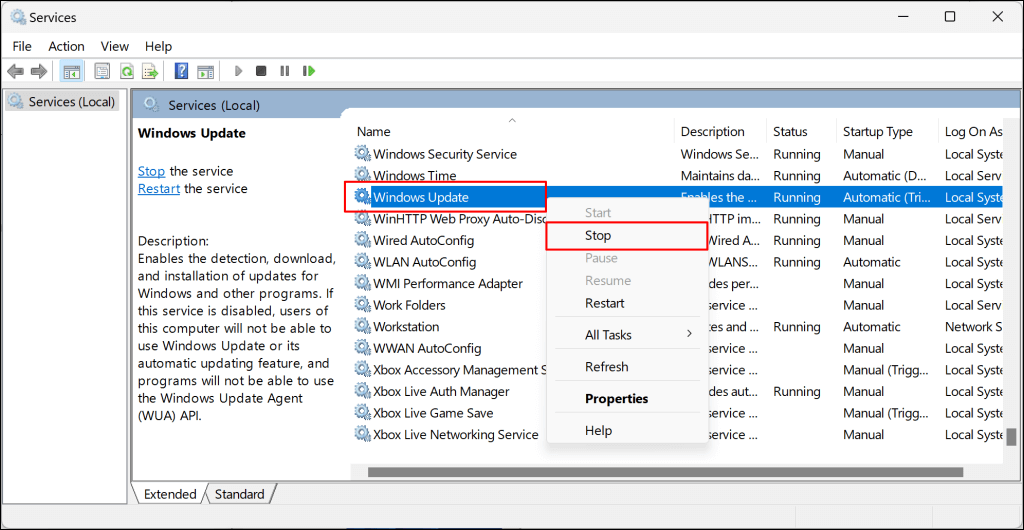
We recommend you stop the Windows Update service before clearing the Windows Update files.
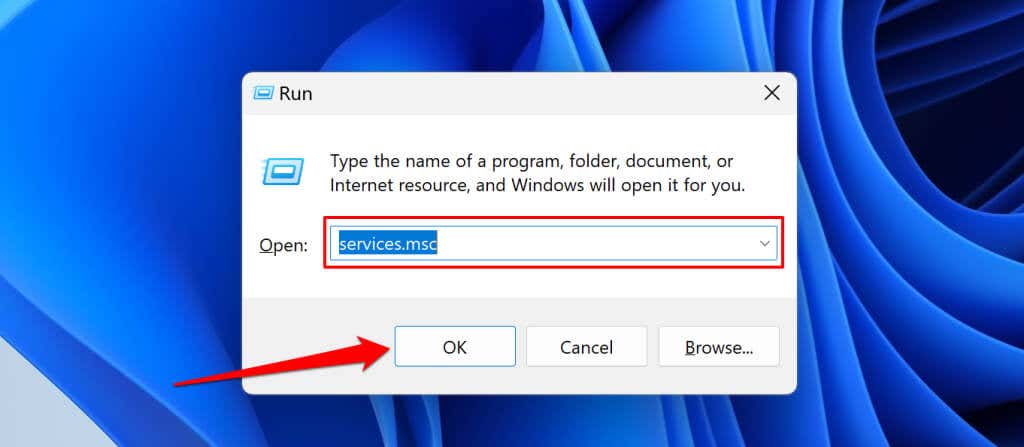
- Press the Windows key + R, type services.msc in the Windows Run box, and select OK.
- Right-click Windows Update and select Stop.
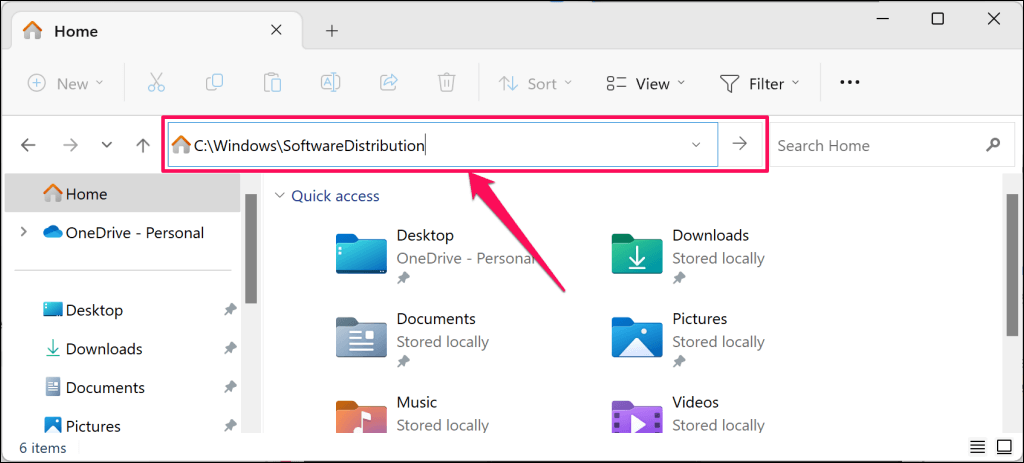
- Press the Windows key + E to open the Windows File Explorer.
- Paste C:\Windows\SoftwareDistribution in the navigation pane and press Enter.
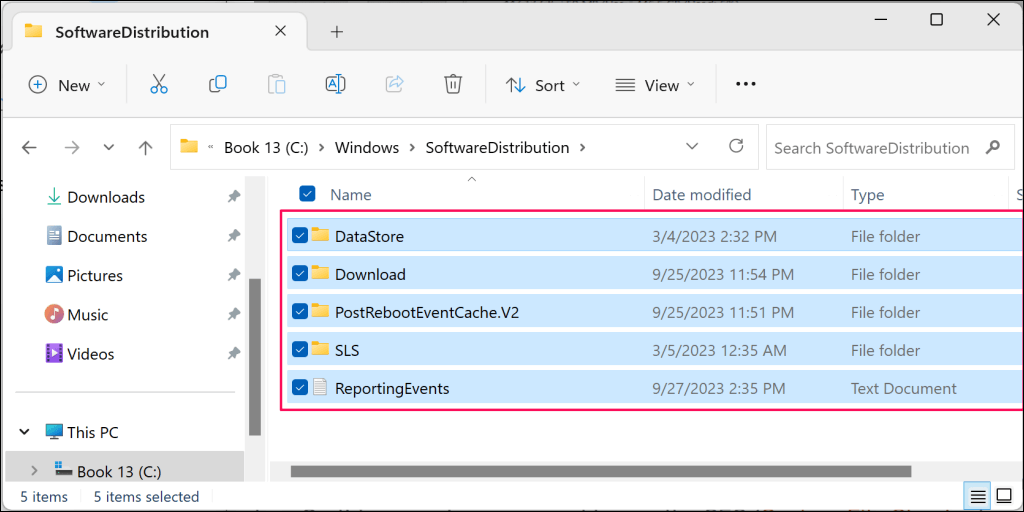
- Delete all files and sub-folders in the SoftwareDistribution folder or move them to a different location on your computer.
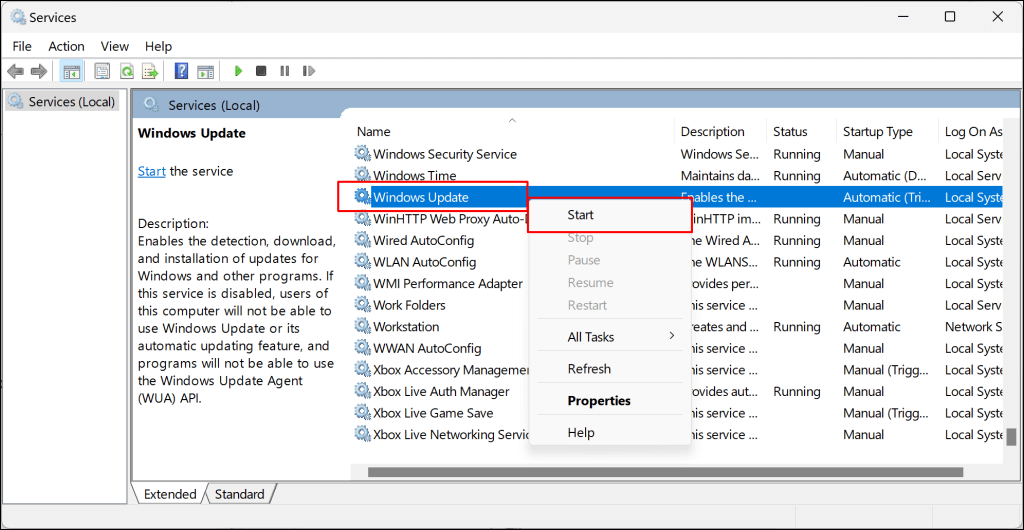
- Restart the Windows Update service and try reinstalling the update. Return to the Windows Services Manager, right-click Windows Update, and select Start.
Manually Install the Update Package File
The Microsoft Windows Update Catalog is a repository or database of all Windows Updates. If you can’t install an update through Windows Settings, download and install it manually from the Microsoft Update Catalog.
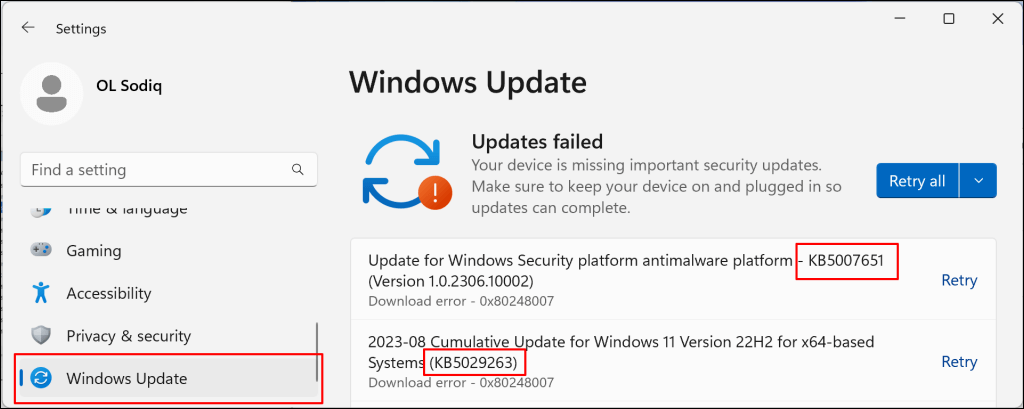
- Go to Settings, select Windows Update on the sidebar, and check the update name. Windows Updates names start with “KB,” and you’ll sometimes find them in parenthesis.
- Head to the Microsoft Update Catalog website, type the update name in the search box, and select the Search button.
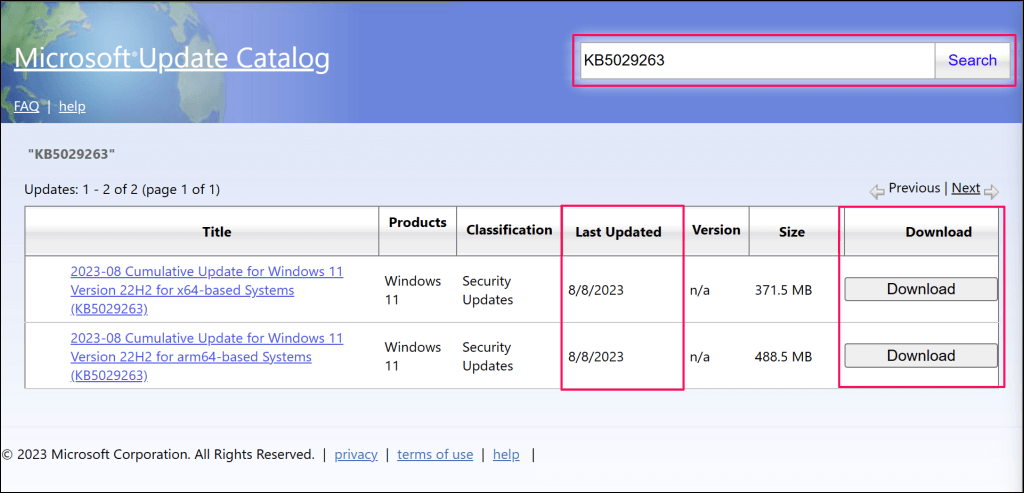
If there are two versions of an update, download the one with the most recent “Last Updated” date.
- Select the download link to save the Windows Update package file to your computer.

Double-click the file and follow the on-screen instructions to install the Windows Update.
Update Windows in Clean Boot State
Performing a clean boot starts Windows without non-essential startup programs and drivers. It’s a diagnostic state similar to booting Windows into Safe Mode. The clean boot environment temporarily hibernates software and services that could conflict with software or app updates.
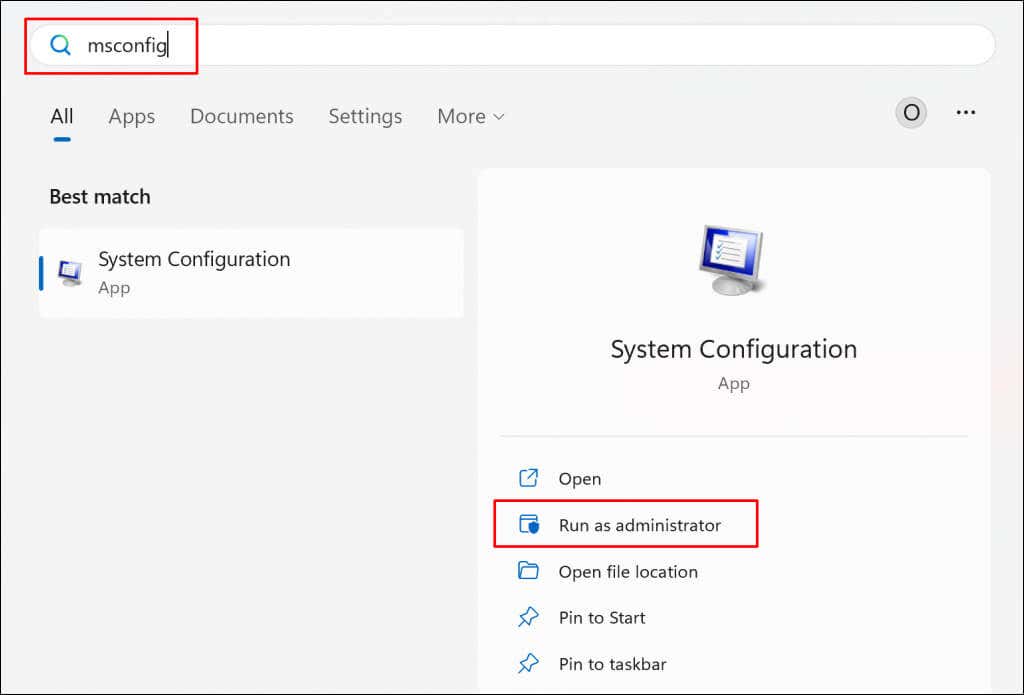
- Open the Start menu and type msconfig in the search bar. Select Run as administrator to open the System Configuration app with administrative privileges.
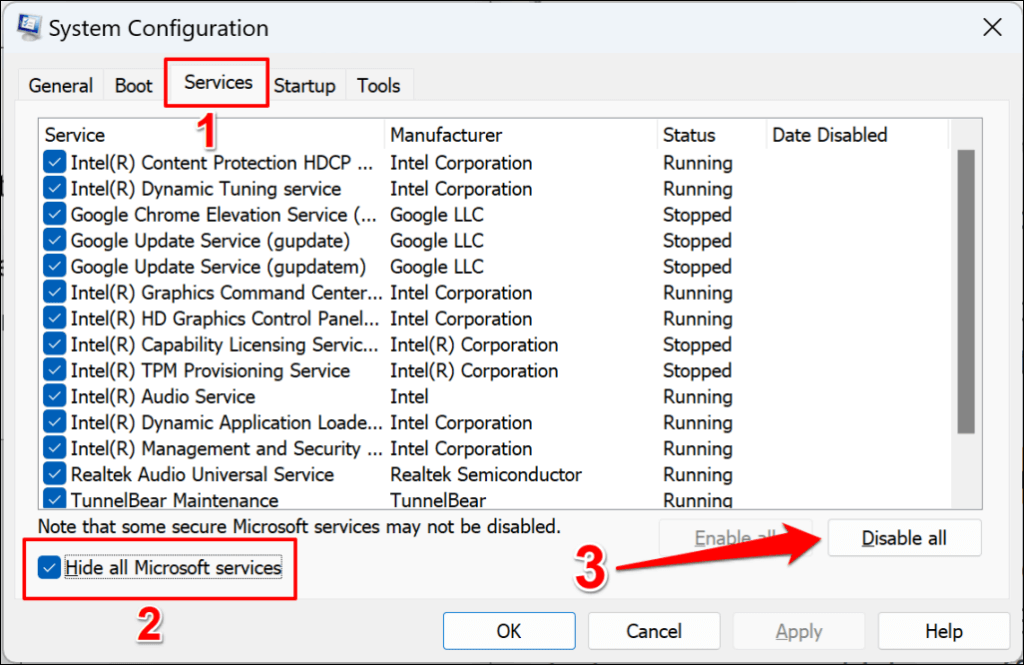
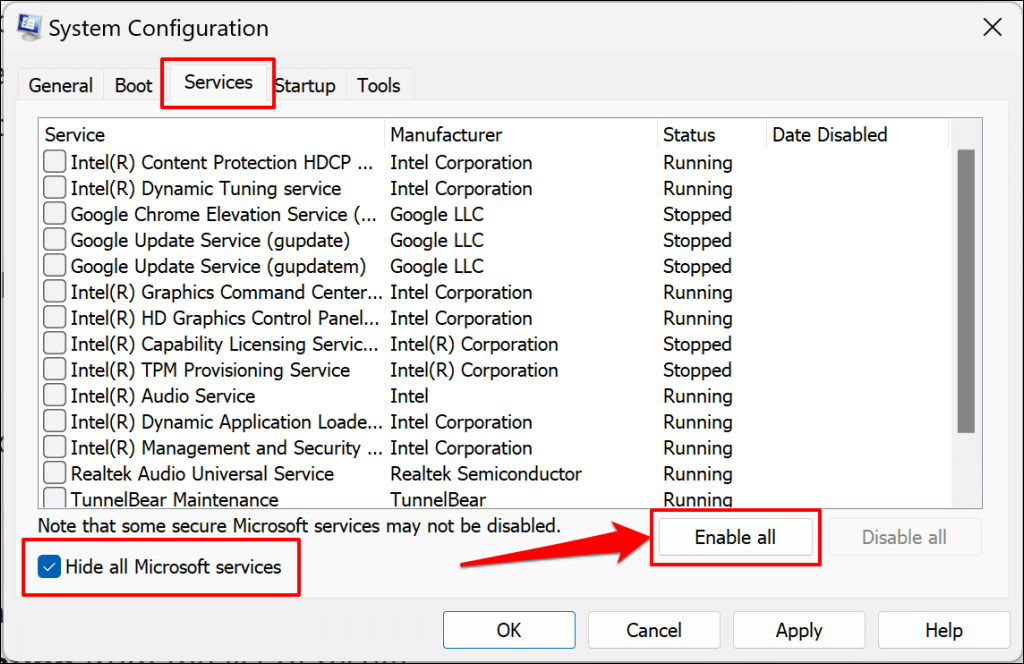
- Head to the Services tab, check the Hide all Microsoft services box, and select the Disable all button.
- Next, open the Startup tab and select Open Task Manager.
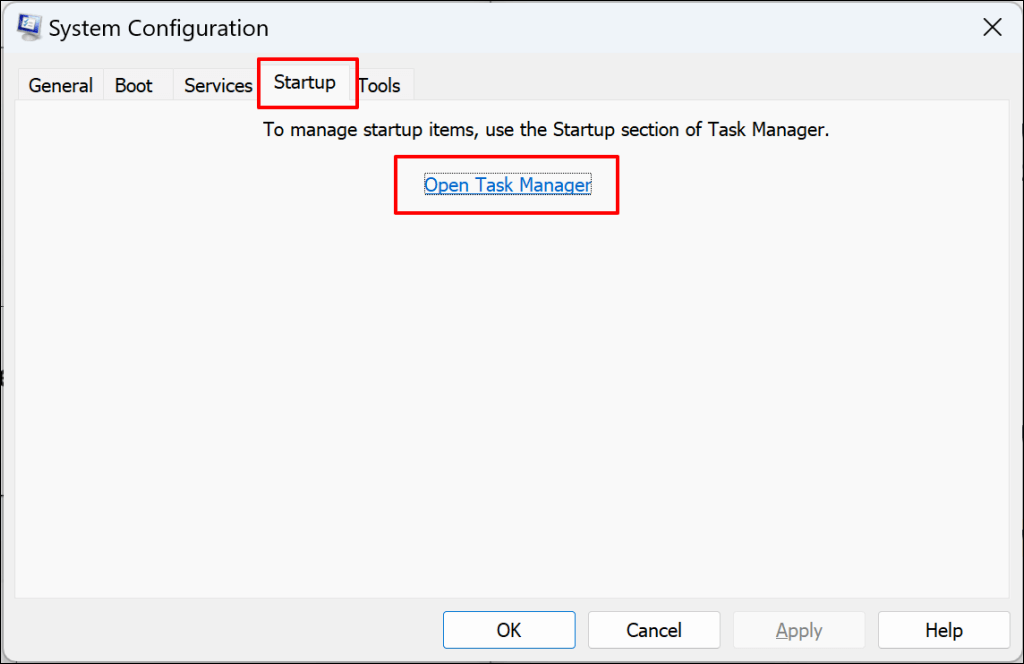
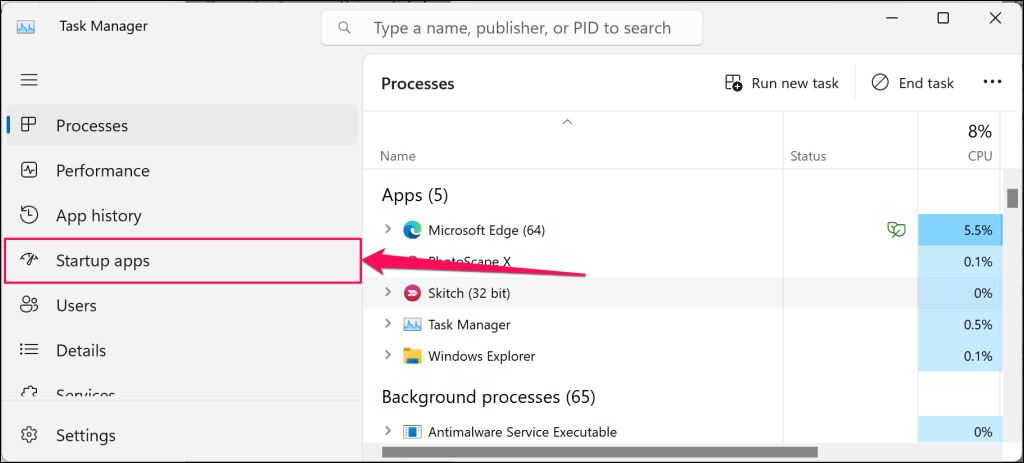
The Ctrl + Shift + Esc keyboard shortcut can also launch Task Manager. Select “Startup apps” on the sidebar and proceed to the next step.
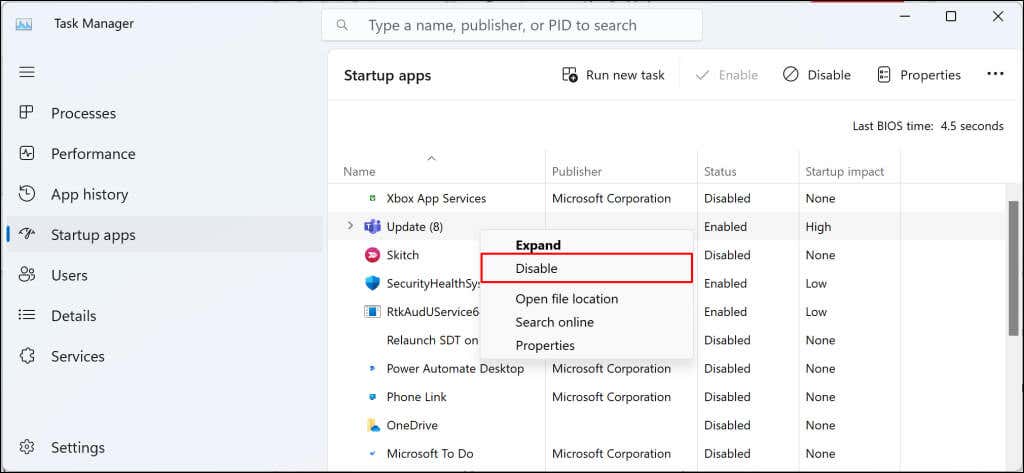
- Check the “Status” column and disable all startup-enabled apps. Right-click all startup-enabled apps and select Disable.
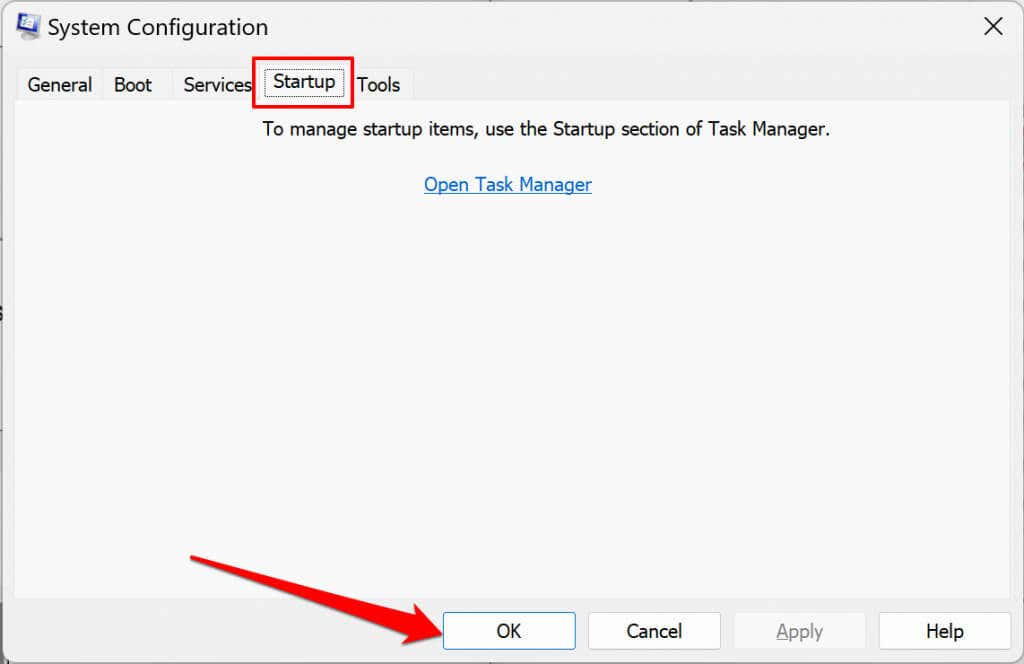
- Close the Task Manager, return to the Startup tab in the System Configuration tab, and select OK.
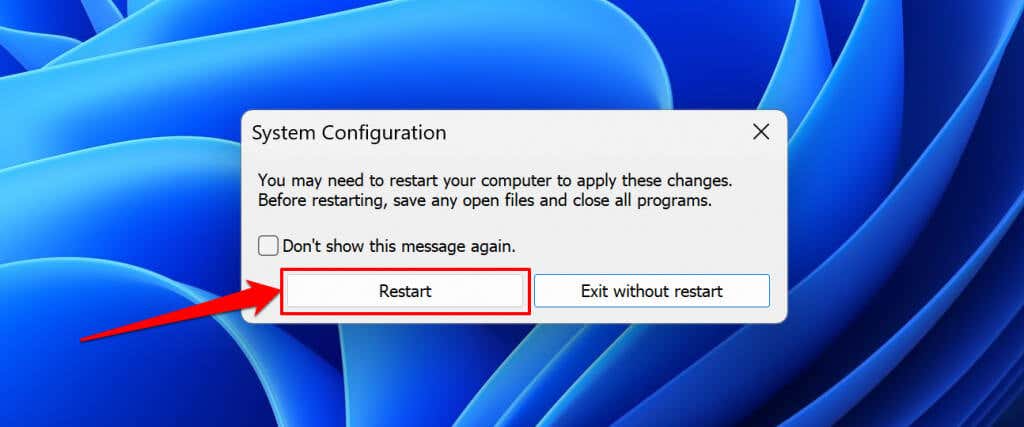
- Select Restart to enter the clean boot environment and reinstall the Windows Update when your PC reboots.
Reset your computer to exit the clean boot environment when the installation succeeds.
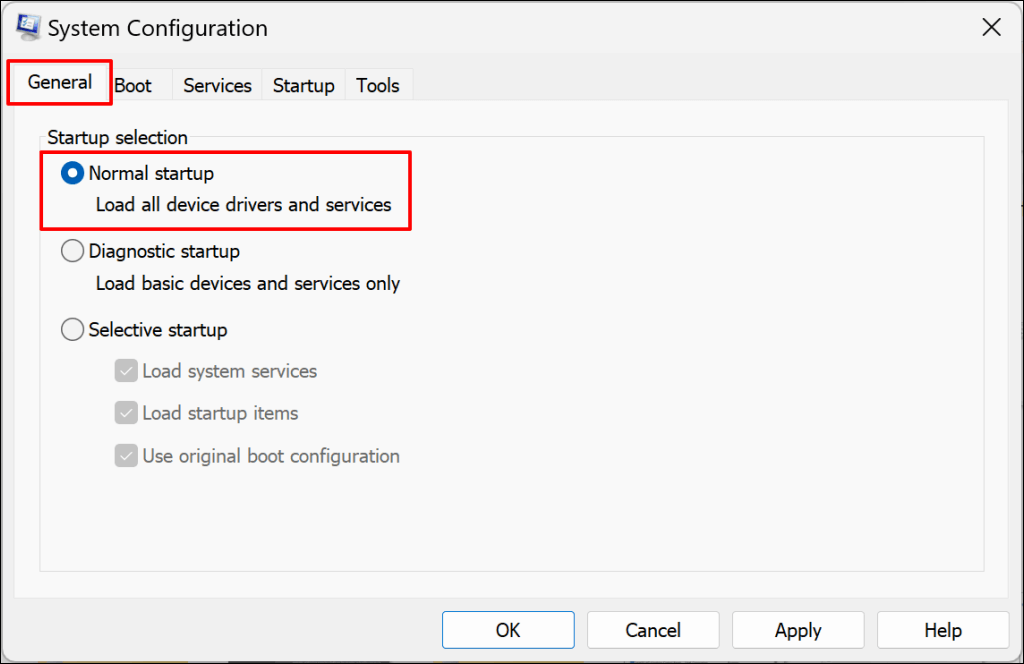
- Open the General tab in the System Configuration app and select Normal startup.
- Next, head to the Services tab, deselect the Hide all Microsoft services checkbox, and select the Enable all button.
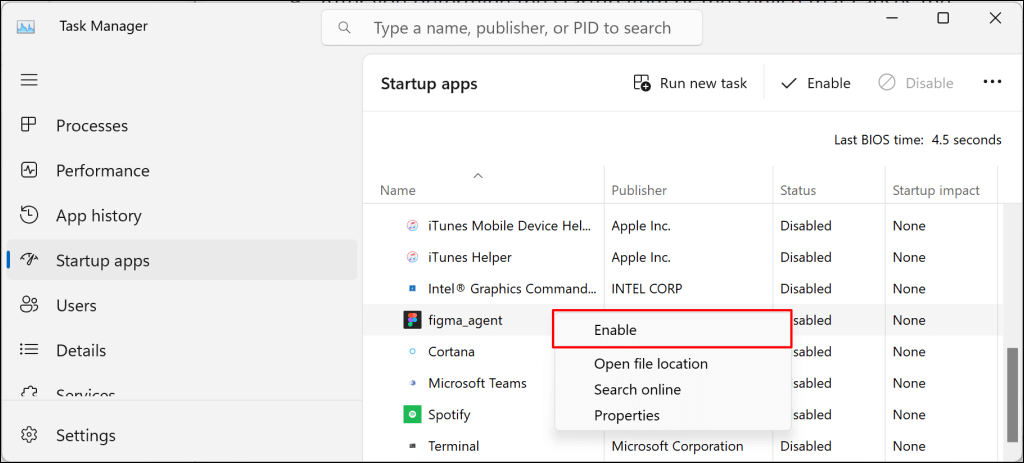
- Open the Startup tab, select Open Task Manager, and re-enable the startup programs you disabled in step #4.
- Right-click an application and select Enable.
- Close the Task Manager and select OK to close the System Configuration app.

- Select Restart to save the changes and exit the clean boot environment.
Uninstall Third-Party Security Software
Third-party security apps can interfere with OS update processes in Windows. Uninstall third-party security apps (antivirus, firewall, anti-malware, cleaner apps, etc.) on your PC and reinstall the update.
Uninstalling Malwarebytes resolved the Windows Update failure for some Windows 11 users in this Microsoft Community forum.
Before uninstalling any application, ensure you know how to reinstall it and have its product key. Also, verify that it is compatible with the new Windows Update you’re applying to your PC.
Reset Windows if Things Still Don’t Go as Planned
Resetting Windows or performing a clean reinstall of Windows 11 can resolve the issue if all troubleshooting fixes prove abortive. Contact Windows Support for assistance if the installation error persists.