A way to tame the unruly inbox
If you have an active email account, you most likely receive hundreds of messages from people vying for your attention in your inbox. Consequently, sifting through each new email to pick out the important ones becomes a daunting task.
Fortunately, if you use Gmail, you have dozens of features and ways to sort, customize, and arrange your inbox and other folders to make it more manageable and give you more control over finding messages.

You can sort Gmail by sender, size, recipient, subject, label, attachments, chats, body of messages, and date.
In this guide, we’re going to show you how to organize, search, and automate your Gmail app by sorting your messages using the Sender, Label or Subject filters.
How To Sort Gmail Messages By Sender
The first step to organizing and cleaning up your Gmail inbox is by getting rid of the hundreds of promotional emails, which take up more than 90 percent of your storage space. They get mixed up with legitimate emails from your personal or business contacts, most of which may be important, and aren’t meant for the trash bin.
If you’ve tried to pick out each promotional message from your inbox, you may not have enough strength left because of the influx of messages, and you’d probably end up deleting a few important ones in the process.
Sorting Gmail by Sender will help you group emails from specific senders together, and delete them in one go while sparing the important and legitimate emails that should remain in your inbox.
It also helps you save time when searching for a specific email from a particular sender, and forwarding emails to your contacts. In short, you have more control over your inbox, and you can stay more organized and productive every day.
There are several tricks you can use to sort Gmail by sender and see all emails from every person in your contact list. We’ll walk you through different methods of doing this below.
Method 1: Sorting By a Particular Sender
1. Open Gmail and go to your inbox. Pick an email from one of the important senders on your contact list and right-click on it.
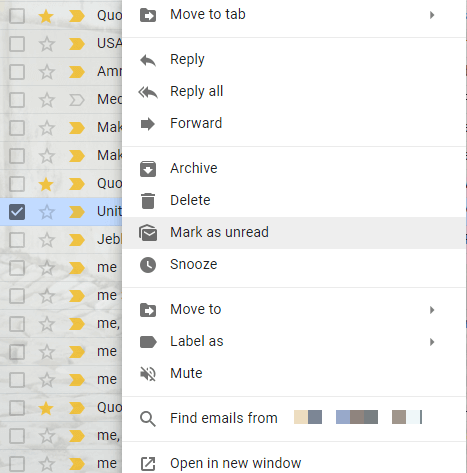
2. In the new menu, click Find emails from.

3. A list of all the emails you’ve received from that particular sender from way back will appear, including the sender’s full contact details. This way, you can quickly send them a message or even initiate a video call.
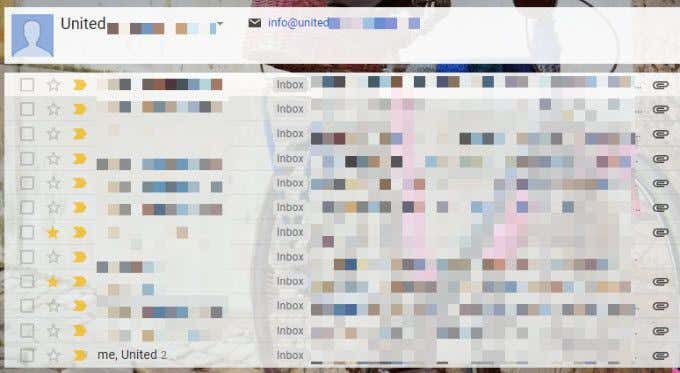
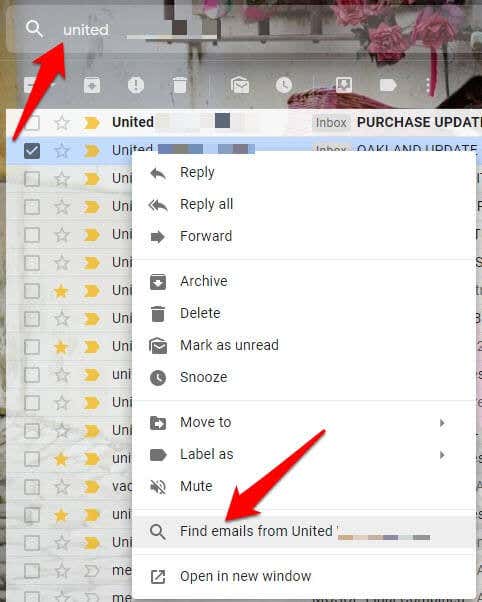
4. If you don’t see the person’s name in your inbox, do a quick search by typing his or her name in the search box, and then right-click any messages from the search results, and select Find emails from.
5. You can use multiple search criteria by clicking the downward-facing arrow next to the search box. Next, paste the email address into the “From” field, or using the “Has the words” field for a more specific search with the name of the sender you’re looking for.
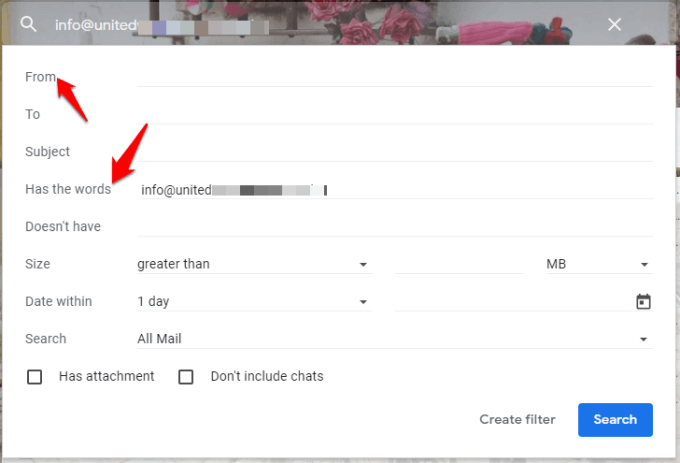
6. Click the search button when you’re done to get the email from that particular sender.
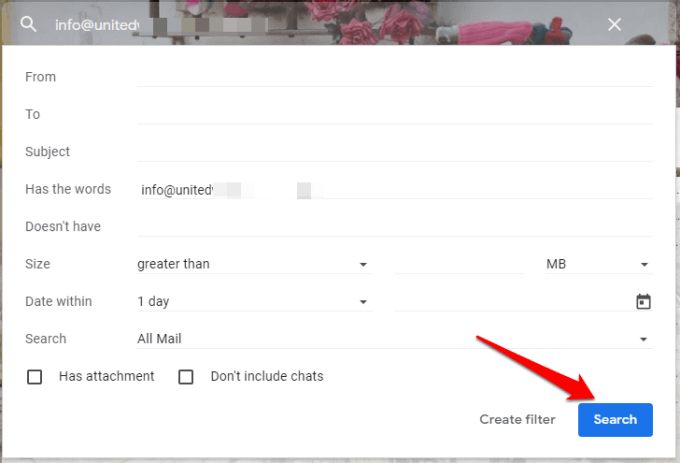
Note: You can create filters for your searches, by clicking Create filter, and automatically apply certain actions the next time you get emails that match the criteria.
Method 2: Sort Gmail Emails From Any Sender
1. Go to the Google search bar and click on the small downward-facing arrow on your right to display the options for locating messages.

2. Specify the parameters to find your emails that include or exclude specific words. It comes in handy when you can remember only a portion of the conversation, as it finds the emails in whole, not just in subjects.
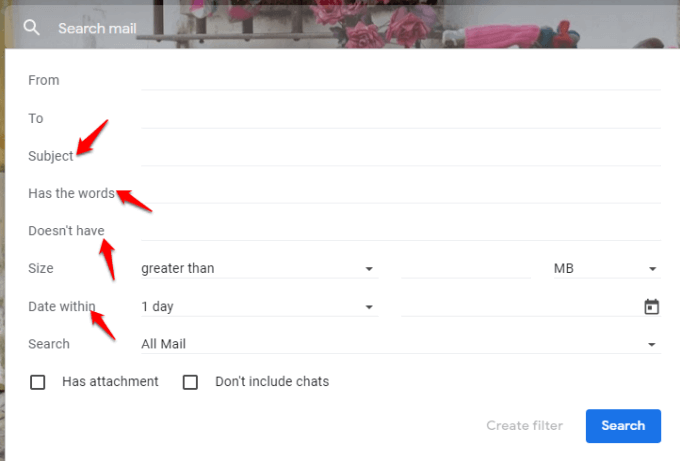
Note: If you want, you can filter the search results to include only messages with attachments. There are other options like Date within that limit the search results to specific dates or time frames.
3. Once you find the sender you want, click Find emails from to populate the list of messages.
Method 3: Sort Gmail Emails Using The Wildcard Functionality
This method helps when you need to free up email storage space and retrieve the emails you need from the hundreds of messages in your inbox.
If you have emails from former colleagues (with the same domain name) that you’d like displayed at the same time use the wildcard functionality. This is represented by an asterisk character (*), which finds multiple records with the same information.
1. Open your Gmail account. In the search bar, type an asterisk (*) followed by the company’s domain name, for example, *@helpdeskgeek.com.
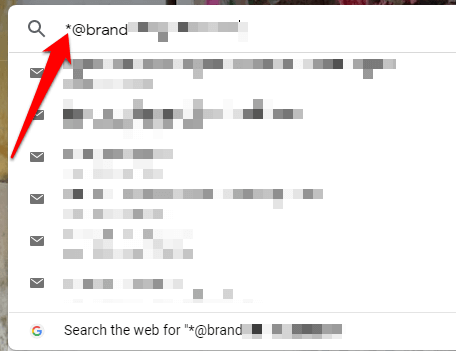
2. You can also replace any other part of the email address with the wildcard, for example, elsie@*.com, elsie@helpdeskgeek.*, or e.*@helpdeskgeek.com. Any of these will work.
Gmail is part of the Google family of services, but unlike the search engine where you can limit the search results to specific words or phrases using parentheses or quotation marks, you can’t do the same in Gmail. Instead, it will return inexact matches if you try to use these in the built-in search feature.
However, you can use parentheses to search for emails with multiple independent keywords, for example (Christmas party). It’ll retrieve every email that contains each of the keywords in the subject line, while typing (Christmas OR party) will bring up all emails with either of the keywords in the subject line.
Sorting Gmail By Sender Using The Gmail Mobile App

On your Android or Ios device, you can sort your emails in Gmail by sender using the steps below.
1. Open the Gmail app, sign in if you haven’t already, and then tap on the search bar at the top.
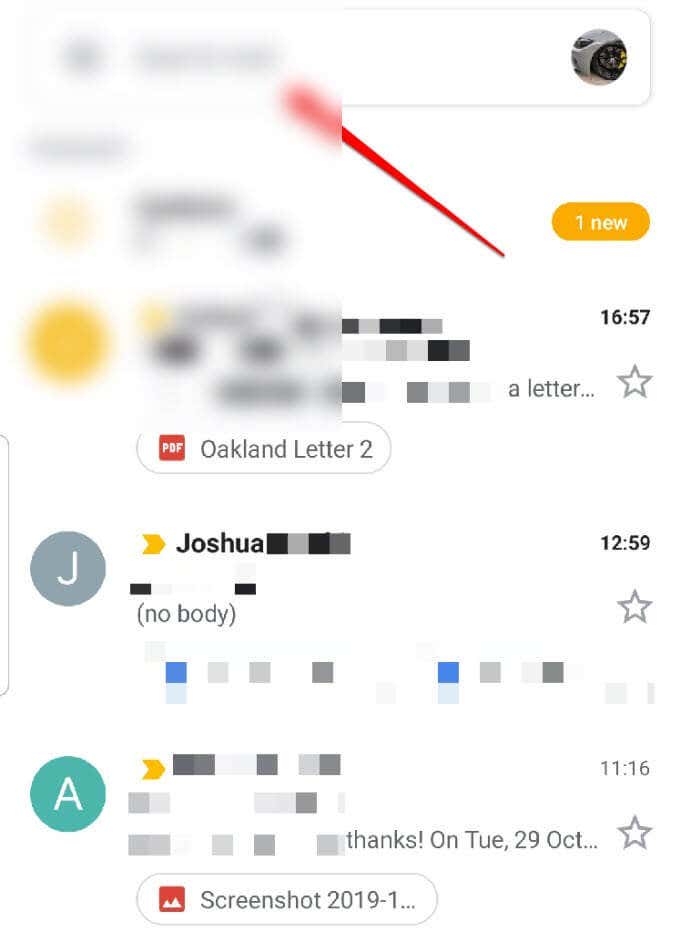
2. Type the email address of the sender you’re looking for and click the Search icon (small magnifying glass icon on the on-screen keyboard).
Note: The mobile app doesn’t let you use additional search criteria to filter your results further. In this case, you can use the desktop app and apply the first method.
How To Sort Gmail By Label
In Gmail, labels are the color-coded, text-based identifiers that help you find the email you want faster. On the sidebar, you’ll see items like Inbox, Drafts, Trash, Spam and others, which are already set up for you, and behave like tags or folders.
You can look for messages with specific labels in Gmail and use them to sort your inbox as described below.
1. Select an email message in your inbox to open it. You’ll see several icons just above the message, and pick the one that looks like a tag to show a list of labels.
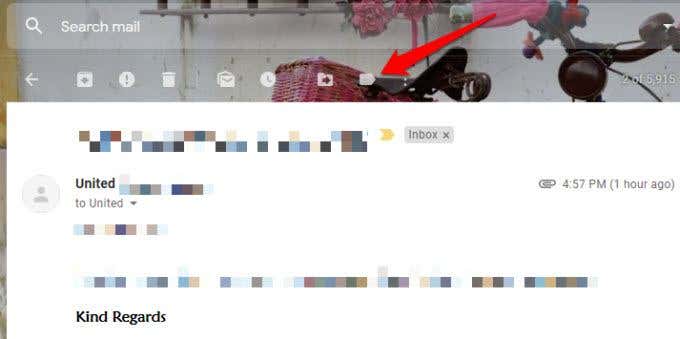
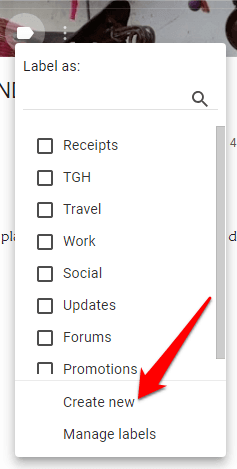
2. Click Create New to create a new label.
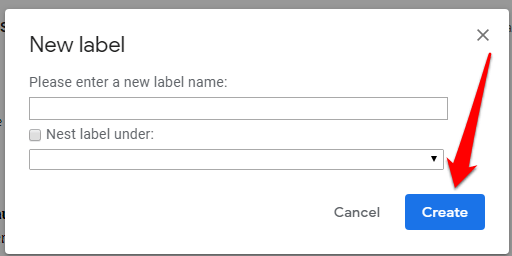
3. Enter the name of the new label, and click the blue Create button.
You can also label multiple emails simultaneously by selecting their checkboxes before clicking the label icon at the top, and then sort them by the label you want from the list.
Now that you know how to apply the labels to your email messages, you can sort your emails by labels. Click the label tag in the email message or from the sidebar and you’ll see all the emails in a specific label.
Sorting Emails Using Smart Labels
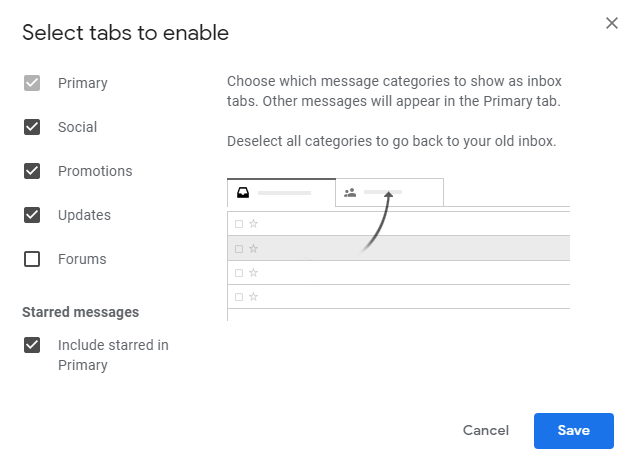
Smart Labels organize your emails into five separate categories namely: Primary, Social, Promotions, Updates, and Forums.
This helps keep your inbox clean and decluttered instead of having all emails from newsletters, notifications, promotions, and others showing up on your inbox all at once. Gmail sorts this out for you automatically, so you don’t need to modify any rule for every sender or set it up yourself.
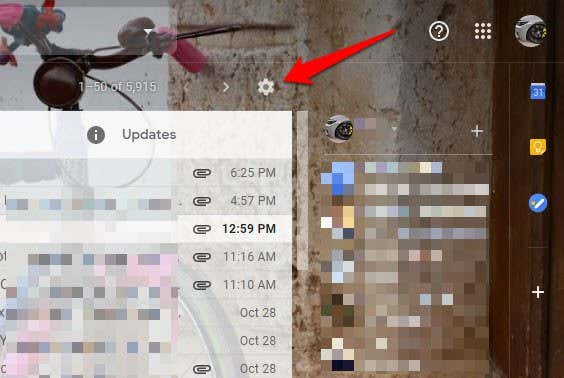
1. To configure the Smart Labels tabs in Gmail, click Settings from the navigation bar.
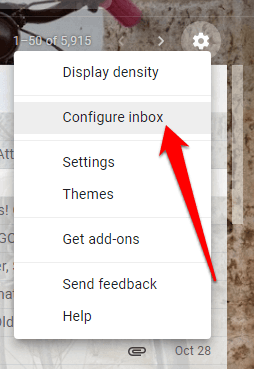
2. Click Configure Inbox.
3. Choose the message categories you’d like displayed as inbox tabs.
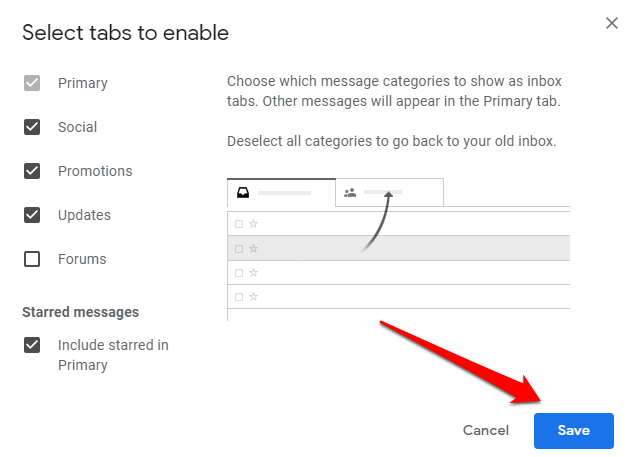
4. Click Save for the changes to take effect.
You can also allow messages from starred senders to show on the Primary tab of your inbox, even though they go to other tabs. For example, if you get a promotional message, you can star it and it’ll appear among your Primary inbox.
This way, you can spot your important messages and easily follow up on them later.
How To Sort Gmail By Subject
1. If you prefer to sort your emails by subject, instead of sender or labels, you can do that easily by typing some relevant words in the Has the words field.
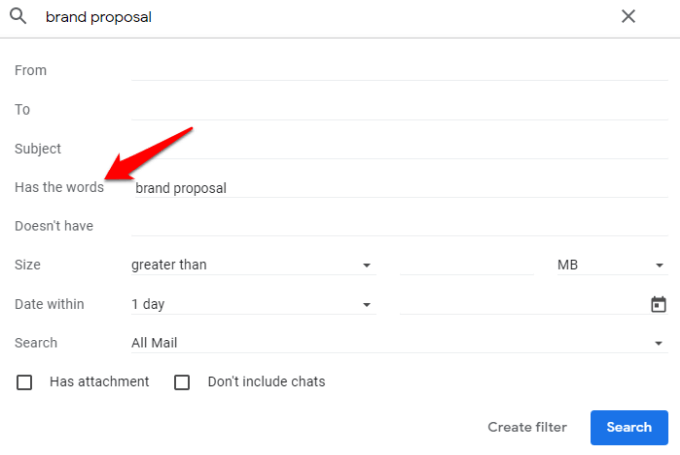
2. Separate the words by commas, and then go to the Search option below. By default, this option is set to search all messages, but you can change it to search only emails filtered to a particular label or inbox.
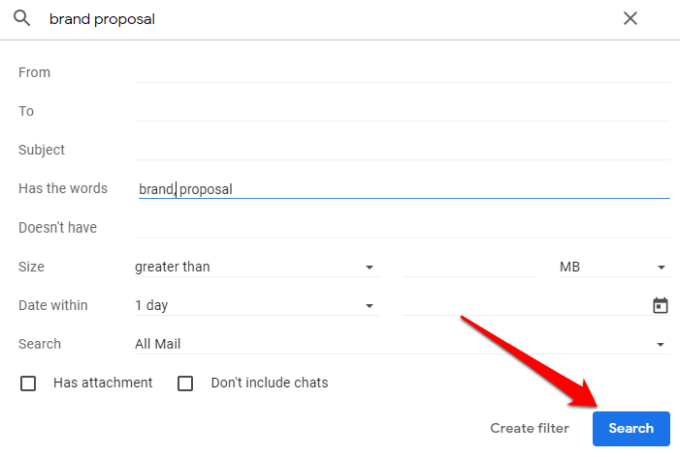
This method applies to items that went into the Spam or Trash folder.
Conclusion
Gmail’s automated sorting tools can sort your emails for you, but, if you want to be more hands-on, you can make the tips in this guide part of your daily routine. You’ll not only save time but also stay organized and productive.


