Share files with any operating system
FileZilla is a popular FTP application that you can use to connect to other computers using file transfer protocol (FTP). With FTP you don’t need to worry about compatibility since the protocol is standard and supported by any OS that can handle an FTP client.
Previously, I wrote how to setup your own FTP server using IIS and in this tutorial we will show you how to setup your own FTP server using the free software called FileZilla. Download the server program from this URL: http://filezilla-project.org.
Install FileZilla
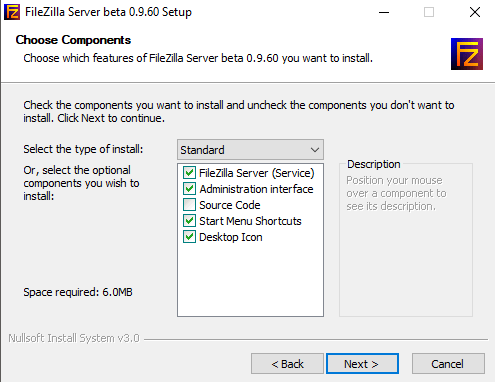
The server software is actually very easy to install. Some of the screens are complicated, but you don’t have to worry because you can just go with the defaults and everything works fine.
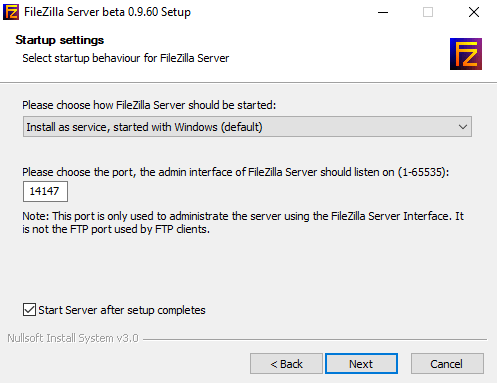
On the Startup settings screen, you can stick with the defaults or change the admin port if you like. This port is only used to administer the server, not for FTP clients.
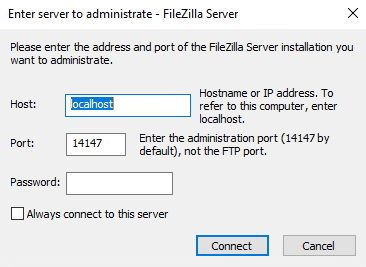
At the end, it’ll automatically fill in the details to connect to the server, which should be localhost and the port number for the admin interface. The password should be blank too.
Configure FileZilla Server
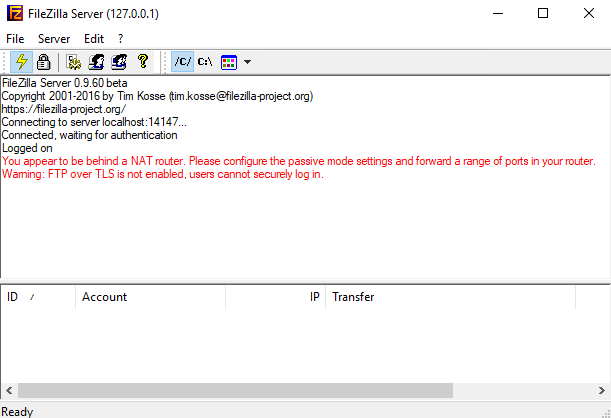
Once connected to the server, you’ll get a screen like below. It’ll give you some basic info about the server and also auto-detect if you are behind a NAT router.
The first thing that you will need to do is create an FTP user account. Click the Edit menu and choose Users:
On the General page, go ahead and click on the Add button at the far right.
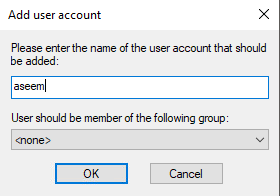
Enter the name of the user then hit OK:
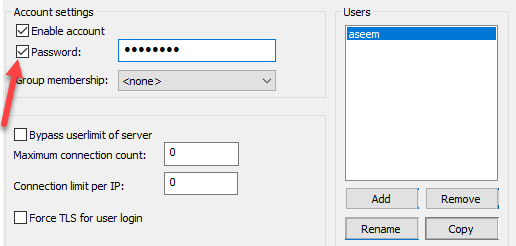
To assign a password, check the Password box and then type in a password for the user.
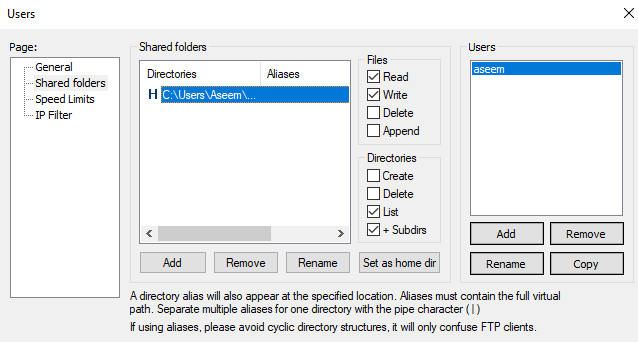
We’re done adding a user. Now to share a directory click “Shared folders” then browse for the folders that you want to share:
Set the permission for the users, make sure to uncheck write and delete if you don’t want other users to modify your files and directories.
You may set the download speed limits if you feel your Internet connection will be affected by your clients. This is ideal if you want to control the amount of usable bandwidth:
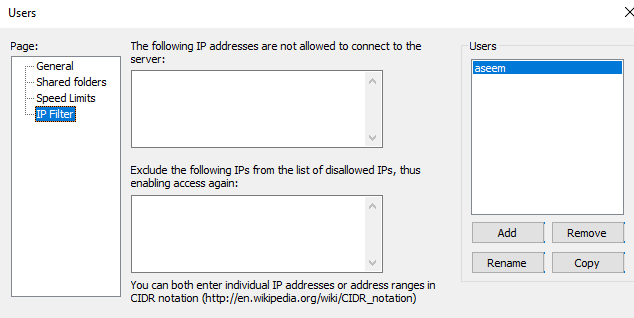
Turn on IP filtering to prevent IP addresses from connecting to your server.
That’s it! You now have an FTP server. You won’t be able to connect to it until you add an exception to your firewall to allow connections for FileZilla. Read my post on how to allow an app through the firewall in Windows. If you installed FileZilla to the default location, you need to allow C:\Program Files(x86)\FileZilla Server\FileZilla Server.exe to the exceptions list.
You’ll also need to learn a little bit about port forwarding, so that users can connect from outside just your local LAN network. It’s quite pointless to setup an FTP server if only people on your network can connect to it.
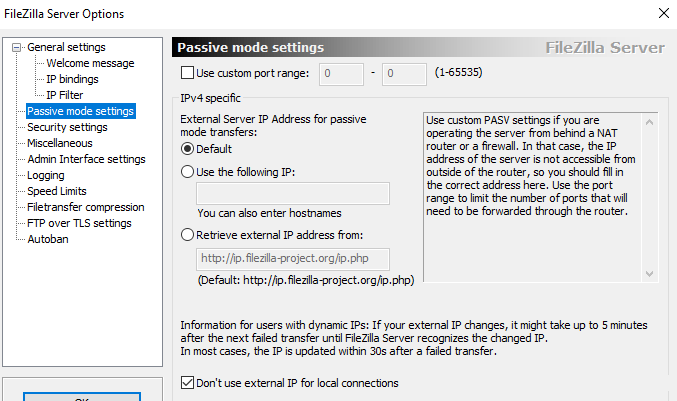
If you’re setting this up at home, you’ll need to enable Passive mode settings also. Click on Edit and then Settings. I suggest Googling a bit to understand what options to use here as they will vary depending on your setup.
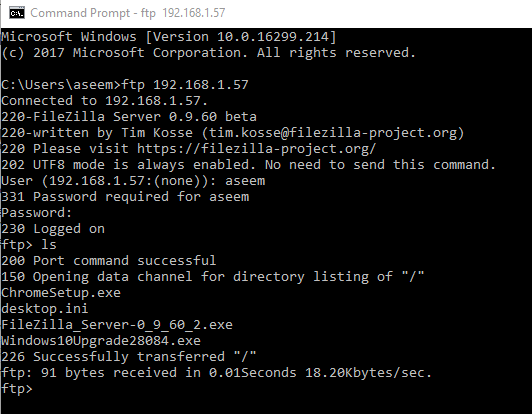
However, once I opened the firewall ports, I was able to connect easily using the command prompt from another local computer on my network as you can see below:
I typed in my username and password and was connected! I then used the ls command to list out the contents of the directory that I gave myself access to. Again, you can Google on how to use the FTP commands from the command prompt if you want to transfer files, etc. Enjoy!


