A great way to grab their attention
Using different media types during a PowerPoint presentation helps keep the audience entertained. Inserting an animated GIF in PowerPoint can capture attention and add humor when well-placed and relevant to the topic.
This article will show you how to insert and use animated GIFs in PowerPoint presentations to demonstrate an activity, convey a message, or grab the audience’s attention.

Insert an Animated GIF In PowerPoint From Your Computer
- Start by opening PowerPoint and navigating to the slide where you want to add the animated GIF. Click on Insert in the top navigation and double click on Pictures.
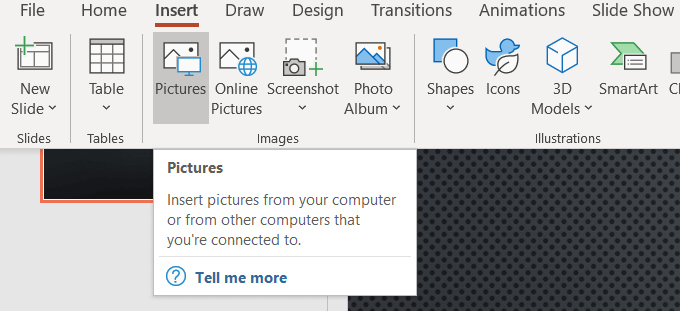
- If you have an animated GIF on your computer, choose the file from its location and click Open.
- Navigate to Slide Show from the top bar navigation. Click on From Current Slide to see the animated GIF in action. It won’t show the movement from the slide view.
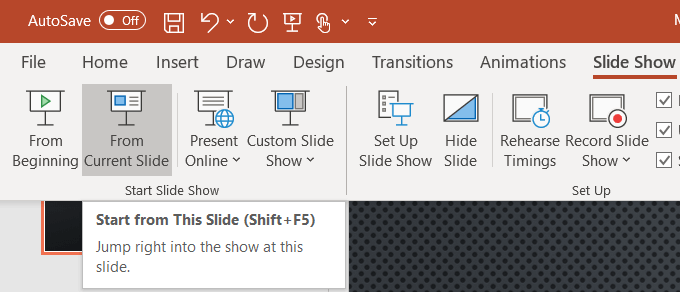
- When you play the slideshow during a presentation, the GIF is animated automatically.
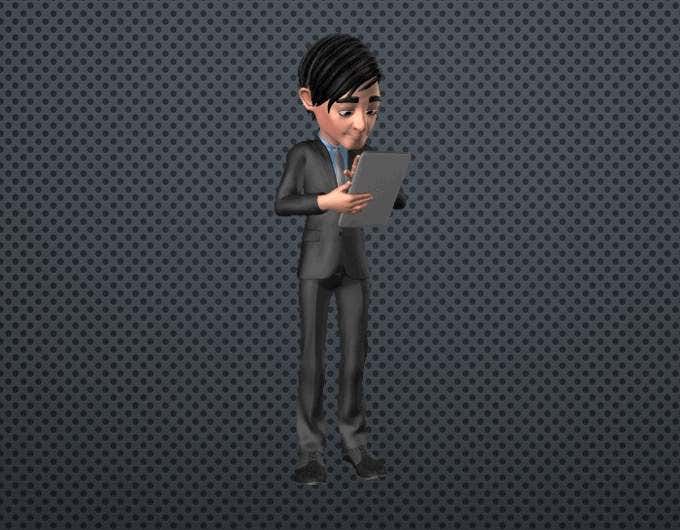
Insert an Animated GIF In Powerpoint From Online Image Search
- If you don’t have a GIF on your computer, you can use the online image search to locate one. Go to the slide where you want to add the GIF.
- Click on Insert in the top navigation and choose Online Pictures (PowerPoint 2013 and later.)
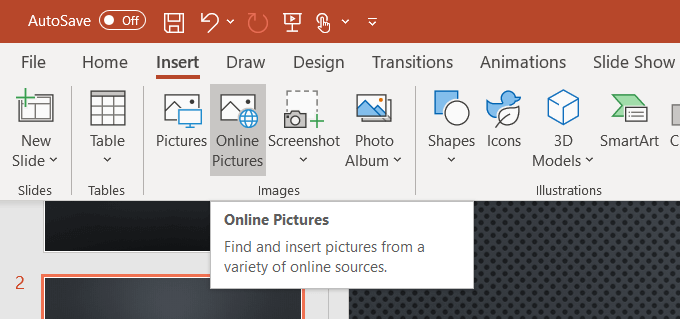
- Search in the popup box for an image to use in your presentation. You can narrow your search by typing gif.
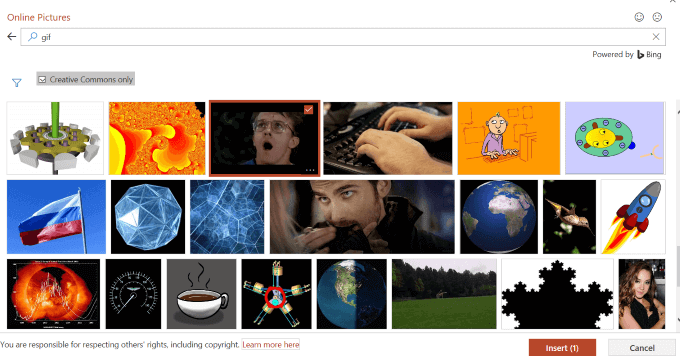
- By default, Creative Commons only is checked off. You only want to use images that are legal in your presentation so keep it checked.
- Select the image you want to use and click Insert to add it to your slide. Narrow your search even more by using specific keywords. For example, typing office GIF will only show animated images related to an office.

Notice the animated GIFs from the online option bring with them the image sources. It’s best to keep them in your presentation to protect yourself legally, even though they are under Creative Commons License.
How To Control Animated GIF Loops
An animated GIF is like a mini-movie. GIFs have a minimum of two images in separate frames. The number of frames determines the animation. While the length of the animation depends upon the number of times the frames loop.
Many GIFs, such as the bottom one above in the screenshot, are set to loop continuously. This can be very distracting in a PowerPoint presentation.
To limit how long the animation lasts, try using an online GIF editor such as ezgif.com or giphy.com. You can also try editing your GIF in CC Photoshop.
- Let’s use ezgif. Click on GIF Resizer.
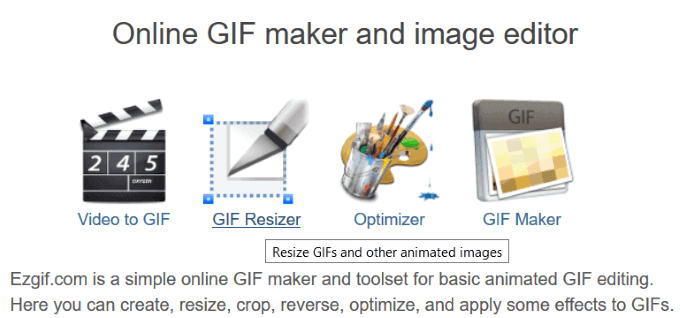
- Upload your GIF to the website or insert the URL of the image.
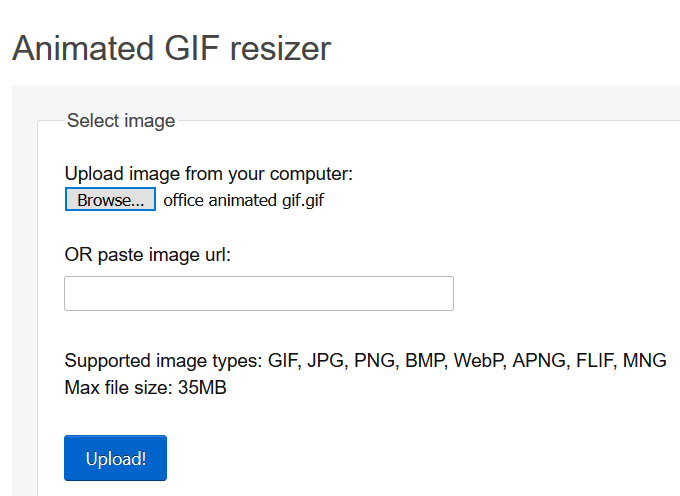
- This step will show you every frame used to animate the image and how long it lasts.

- Scroll down to Loop Count under GIF options.

- Enter the number of times you want the GIF to loop and click the blue Make a GIF button. Download the edited GIF to your computer and then insert it into your presentation.
Edit The Animated GIF In PowerPoint
You can resize and move a GIF inside your PowerPoint presentation just as you can with an image. Drag one of the four corners of the GIF so that you don’t distort the aspect ratio.
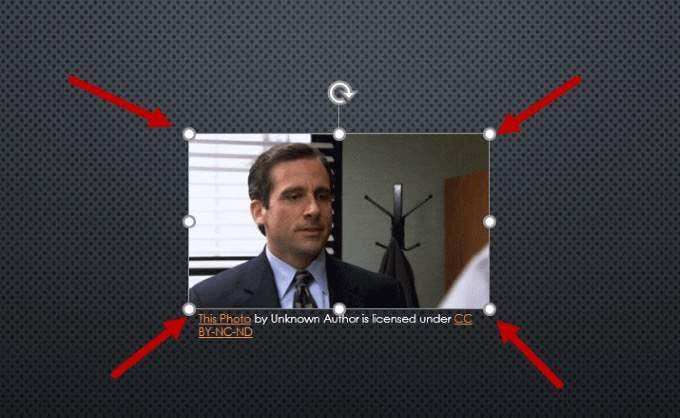
To rotate the image, drag the circular anchor above the image until it is where you want it.

There are several other image editing options, such as adding shadows, borders, and reflections. Some effects might affect the animation. Play the Slide Show from the current slide to make sure you didn’t cancel the animation.
Adding a Frame To Animated GIFs
To add a frame around an animated GIF you’ve created, click on the image and select Format from the top bar navigation under Picture Tools.
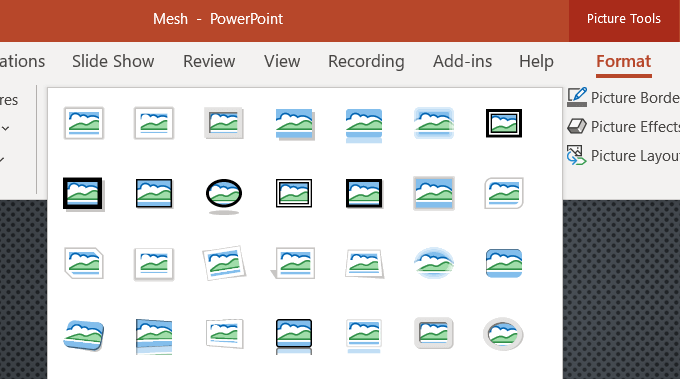
As seen in the screenshot above, there are several frame options. Below are examples of a few of them with our animated GIF.
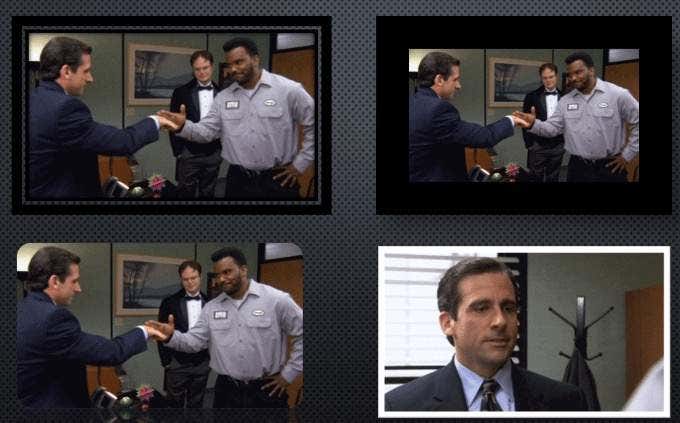
Notice in the screenshot above that the white frame doesn’t animate. So, again, always check any image effects you add to an animated GIF to make sure you don’t break it.
How To Make An Animated GIF
Let’s use the same online free tool to create a GIF that we used to edit one – ezgif. Create your own animated GIF by uploading a sequence of different image files. You can use JPG, BMP, GIF, TFF, PNG, Zip image archives and mix different formats and sizes. Ezgif will convert them automatically for you.
- Start by clicking Browse under Select images. Hold down the Ctrl key when choosing multiple photos.
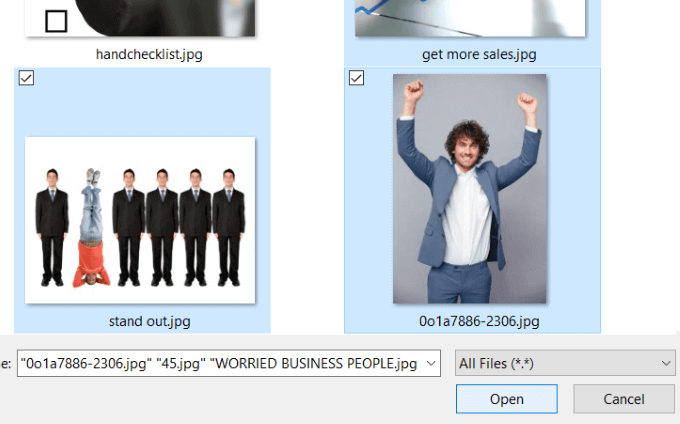
- Once you have selected the images you want to use, click Open. Before creating the GIF, adjust some of the settings, including the frame order and animation speed. Don’t forget to set the number of times you want the animated GIF to loop; otherwise, it will loop continuously.

- If your uploaded images are not the same size, click Resize to crop and match them to the smallest one automatically. It’s better to make an image smaller than larger so as not to distort or make it blurry.
- Click the blue button that says Upload and make a GIF! After generating the GIF, you can crop, resize, and optimize it.
Check out the other tools ezgif provides. They are all free to use and can help add some fun to your PowerPoint presentations. There are plenty of ways you can create your own unique GIF’s. You could even try turning your iOS Live Photos Into GIF Images.
Why Add Animated GIFs To PowerPoint Presentations?
GIFs are in-between static images and videos. They are smaller files, take up less space on your computer, and add a few seconds of enjoyment. Those few seconds can help re-engage viewers who might be losing interest. Adding a familiar or funny animated GIF will make your presentation memorable to your audience.
Spruce up your PowerPoint by adding some funny GIFs. Lighten up the mood of what might otherwise be a mundane presentation. They will also help your audience relate to you by making you appear more approachable. Don’t overdo it.
When used in moderation, adding animated GIFs to your PowerPoint will sprinkle something unique into your presentation and help your audience remember its content and message.


