It's a little more complicated to do
You probably just started using a multi-monitor setup to increase productivity or improve your gaming experience. However, there are a few hoops to jump through with such a setup. For example, what should you do when you need to screenshot only one monitor? This is an issue some users are confronted with, so we’re going to explore a couple of possible solutions.
Taking screenshots is easy and it usually takes just a few seconds. Things get a bit more complicated when you bring a second or even third monitor in the picture. In this article, we’ll show you how to screenshot only one monitor by using built-in methods as well as third-party applications. Let’s get started!
1. Using the Snipping Tool
Windows 10’s Snipping Tool isn’t the newest application out there, but it still does the job. Go to the start menu and select the Snipping Tool or search for it using the search bar.
Click on Mode and choose Full-screen Snip.
This will automatically screenshot your active monitor and you can save it wherever you want. The keyword here is “active.” There’s a little catch with the Snipping Tool in the sense that it can screenshot only the primary monitor. So if you want to screenshot the other one, you first have to go into your display settings and change your primary monitor.
2. Snip & Sketch
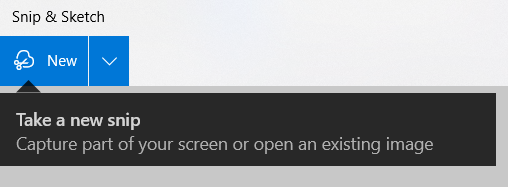
As mentioned, the Snipping Tool isn’t the best tool for the job. The alternative is the newer Snip & Sketch app.
Launch the app from your start menu and click on New.
Next, click the rectangular tool icon and drag the mouse from one corner of your monitor to the other and save your screenshot of only one monitor.
3. Lightshot
If you aren’t a big fan of built-in tools that usually require multiple steps, you should try a third-party program like Lightshot. This app is available on Windows and Mac for free, and you can even install it as a browser extension as well. It’s one of the most hassle-free screenshotting tools out there.
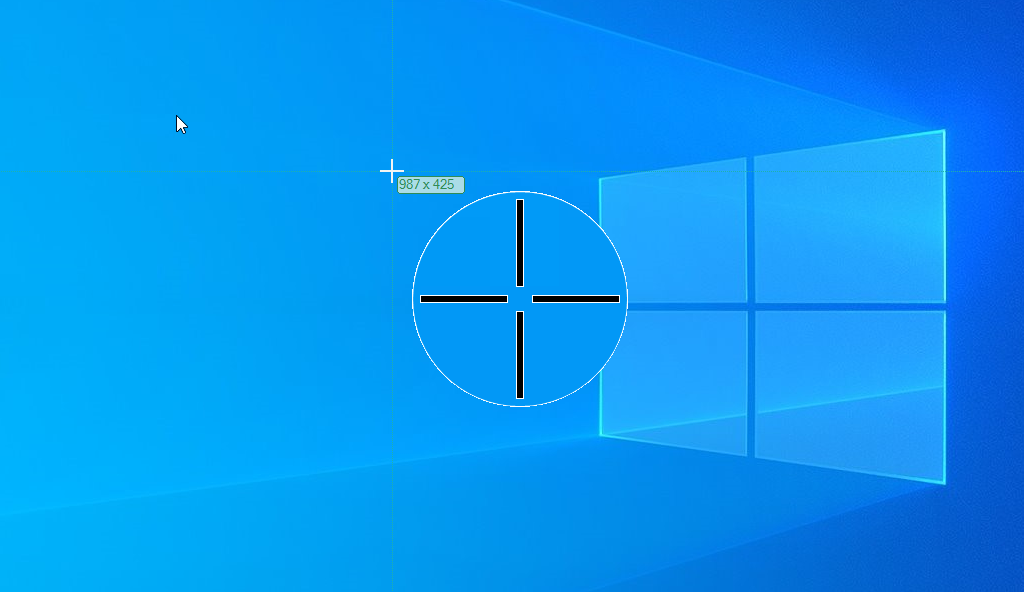
First, install Lightshot using the appropriate installer. Once it’s set up, it will take over your Print Screen key. When you press it, your screen will darken a little and the “Select Area” tooltip will appear next to your mouse cursor.
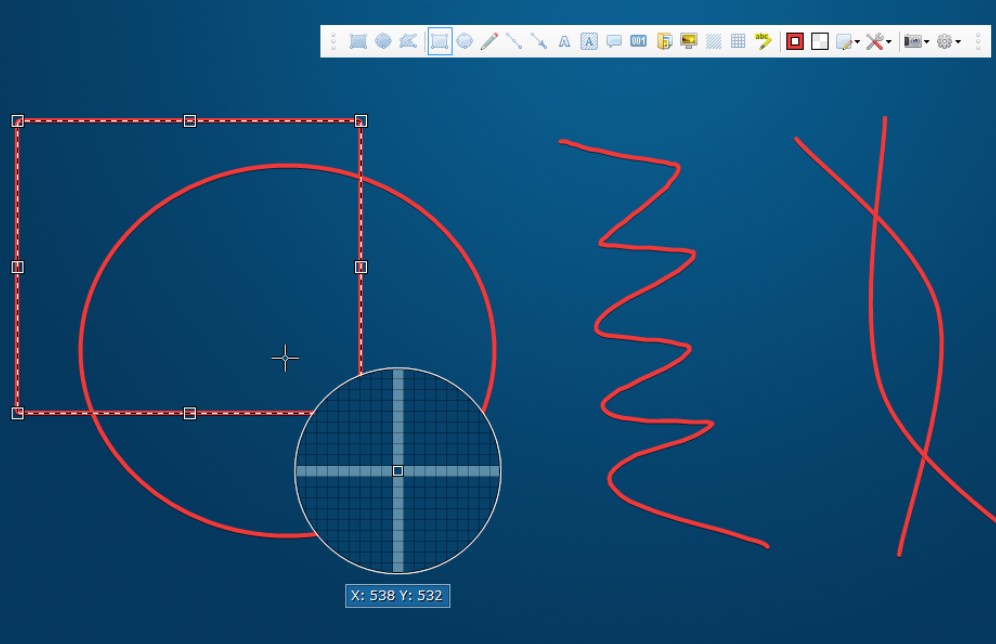
To screenshot only one monitor, simply drag the cursor from one corner of the screen to the other. This will open a menu with a few basic tools, like Marker and Text, but we’re not interested in those right now. All you need to do is click on the Save icon and select the file’s location. That’s it!
Let us know which method you prefer and feel free to share any interesting screenshot apps in the comments section.
4. ScreenRec
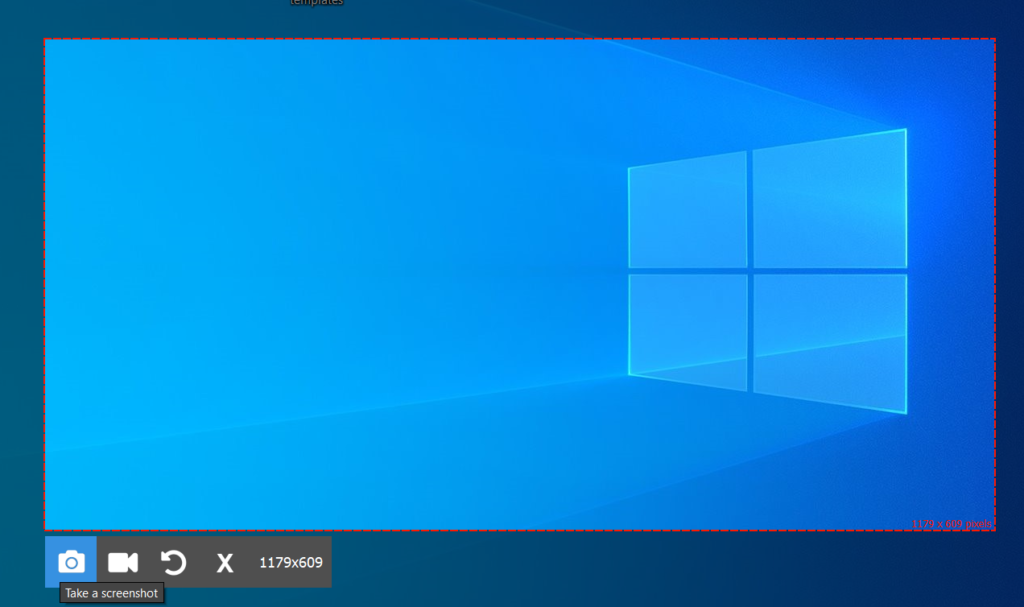
ScreenRec is a free screen recording program available for Windows, macOS, and Linux. It’s a user-friendly all-in-one tool that you can use for more than just screenshotting one monitor. It can also record your screen with sound and generate shareable links.
To take a screenshot or start recording, you need to press the Alt+S key combination. That’s it. You can also annotate your screenshot and highlight the most important parts.
5. Greenshot
Greenshot is an open-source screen capturing application. It is available for free for Windows, but the macOS version costs $1.99. Either way, it’s one of the simplest apps you can use if all you want is to take a screenshot of one monitor. You can also install it as a plug-in for various programs like Microsoft Office and Jira.
After you install Greenshot, you can take a screenshot by pressing the PrtSc key. That’s it. Select the area you want to capture and save the screenshot. You can also generate a shareable link and leave marks or comments on the screenshot.
6. ShareX
ShareX is a free screen recording app available for Windows only. It can screenshot only one monitor or a selected area like all the other options on this list, but what makes it different is its sharing capabilities. ShareX comes with many predefined websites, including Imgur, Flickr, ImageShack, and Twitter to which you can upload your screenshot directly.
Use the intuitive task menu to take a screenshot, annotate it, and share it.
7. Awesome Screenshot
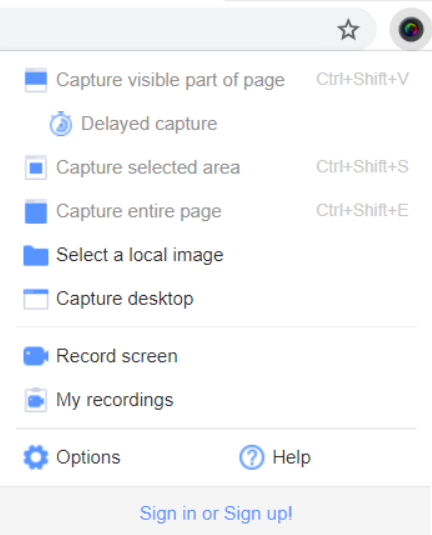
If Google Chrome is the browser of your choice, you should check out Awesome Screenshot. It’s a browser extension for Chrome and there’s a free version you can use to take screenshots.
Take a screenshot of your monitor and upload it straight to your Google Drive.
Which method do you use to screenshot only one monitor? Let us know in the comments below!


