Great for sending out to mailing lists
Microsoft Office lets you print envelopes individually or as a mass mail merge. This is incredibly valuable for businesses that need to add branding and other custom elements to an extensive mailing list.
Here’s how you can print on an envelope in Microsoft Excel. Remember that you need both Microsoft Word and Excel to make this work. This method should work regardless of whether you’re using the Microsoft suite on a Windows PC or a Mac.
Table of Contents
Step 1: Create Your Mailing List
The first step is to create the list of recipients to whom you will send mail. You can skip this step if you only need to print one or two envelopes. However, this step is essential for those working with large mailing lists.
To create your mailing list:
- Open Microsoft Excel.
- Create a new spreadsheet with the following columns: First Name, Surname, Address, State, Country, Postal Code. Import your contacts to the spreadsheet, adding this information in the corresponding columns. This document will become your master mailing list.
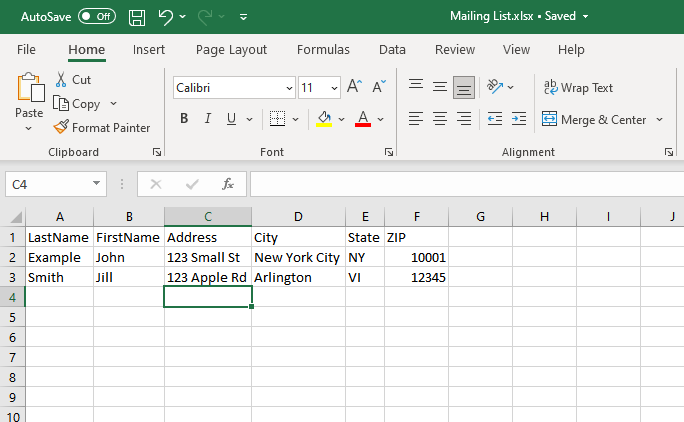
- Verifying your addresses at this step is important to avoid wasting time and money printing old or incorrect data.
Step 2: Design Your Envelope
Next, you need to prepare your envelope template in Microsoft Word. This is the document you will set up to populate with your recipient’s addresses when printing automatically.
To do so:
- Open a blank document in Microsoft Word.
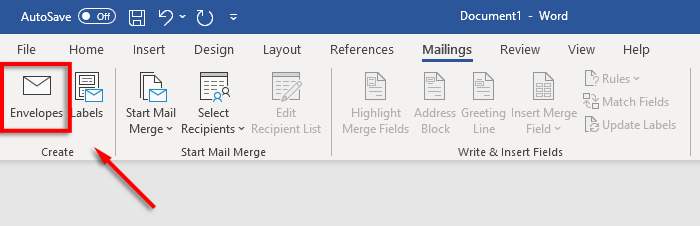
- Select the Mailings tab.
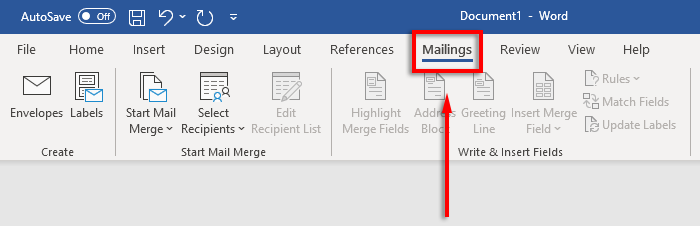
- Click Envelopes.
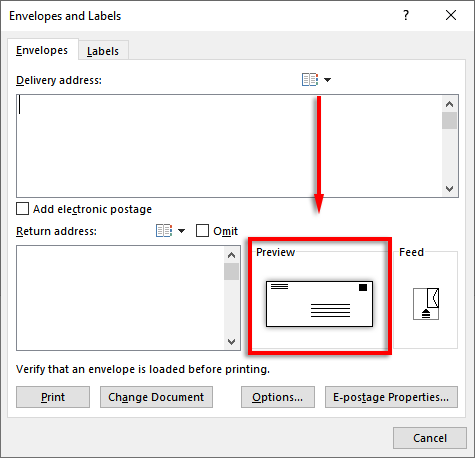
- Now specify what paper size your envelopes are to be. To do so, select the Preview icon.
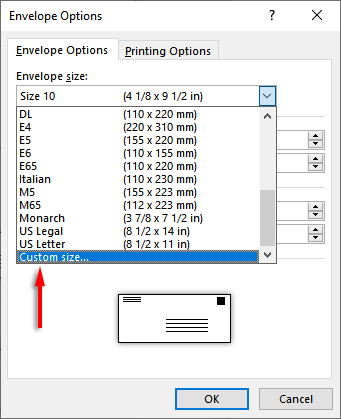
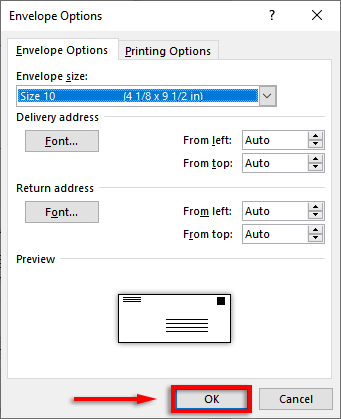
- In the Envelope Options tab, select the drop-down menu under Envelope size.

- Choose the size your envelopes need to be. Word contains most common envelope sizes, but you can designate your own by clicking Custom Size.
- Next, select Font… next to the Delivery address box or Return address to set the font you want for both options.
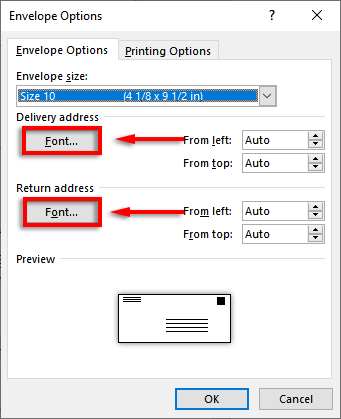
- Select OK.
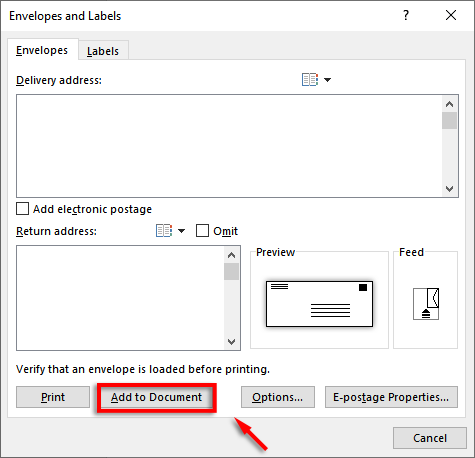
- The last step is to add branding and custom elements if you desire. To do so, click Add to document. This will open the envelope as a regular Word document, so edit it as you would normally.
Note: You can use a sample address in the delivery address text box to see how your envelope will look when printed. To preview your envelope, click Preview Results in the ribbon.
Step 3: Set the Printer Feed
The next step is to tell Microsoft Word how your printer feed works. This ensures that your envelopes will be printed correctly, with all elements in the proper organization.
To set the printer feed:
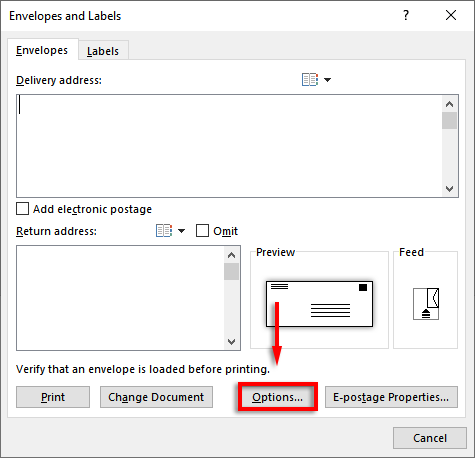
- Click Mailings > Envelopes.

- Select Options.
- Click the Printing Options tab.

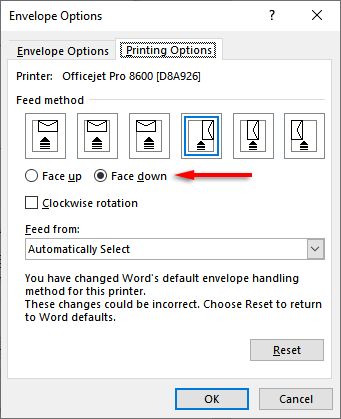
- In the Feed method window, select the orientation for how your envelope will feed into the printer. We recommend selecting a method where the envelope borders the edge of the feed tray, as it will make it easier to place the envelope in your printer. Note that the delivery and return addresses will be misaligned if your envelope isn’t correctly positioned.
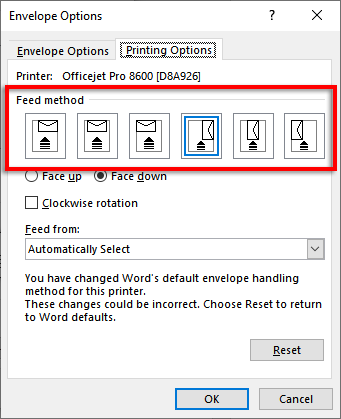
- Select Face up or Face down to define which way up you will load the envelope.
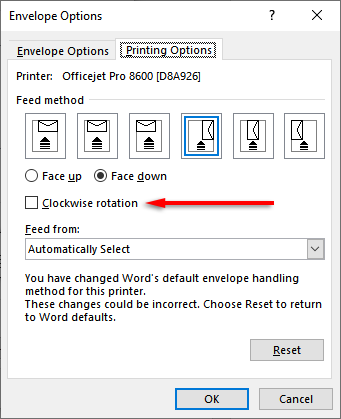
- Click Clockwise rotation to rotate the envelope design to your preference.
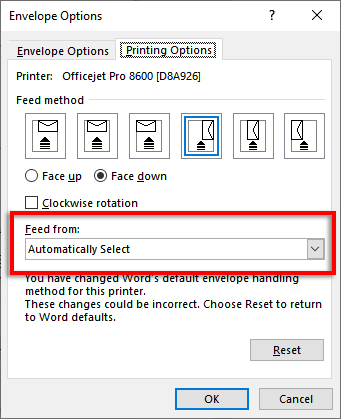
- If your printer has more than one feed tray, click the drop-down menu under Feed from to choose the correct tray.
Step 4: Start the Mail Merge and Link Your Mailing List
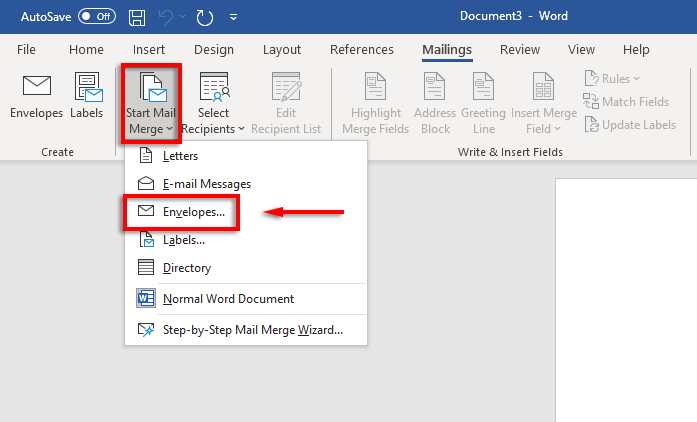
It’s time to begin the mail merge. This will allow Microsoft Word to automatically add the names and addresses from your address list data source.
To do so:
- In Word, click Mailings > Start Mail Merge > Envelopes.
- Click the Envelope Options tab. Double-check your settings in the Envelope Options dialog box and add your Return address. When you’re set, click OK.
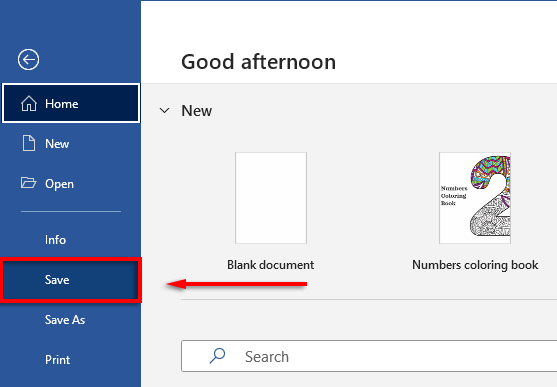
- Click File > Save to save your envelope template.
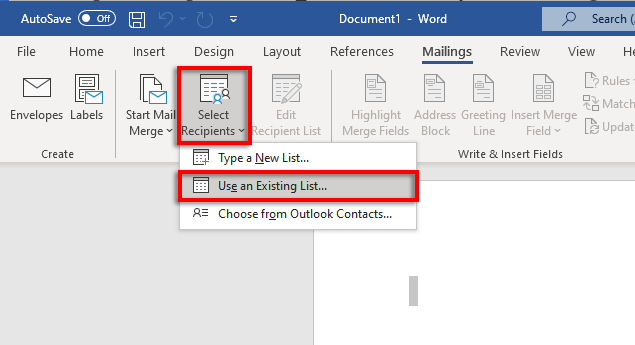
- Click Mailings > Select Recipients > Use an Existing List. If you’re only printing to a single envelope, select Type a New List. Likewise, if your contacts are already saved in Microsoft Outlook as a distribution list, you can select Choose from Outlook Contacts.
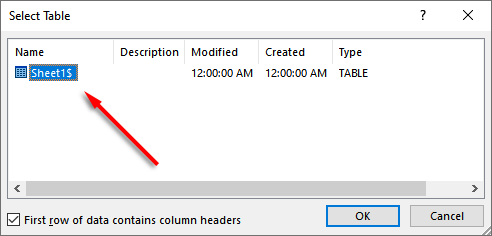
- Select your Microsoft Excel spreadsheet and confirm the choice.
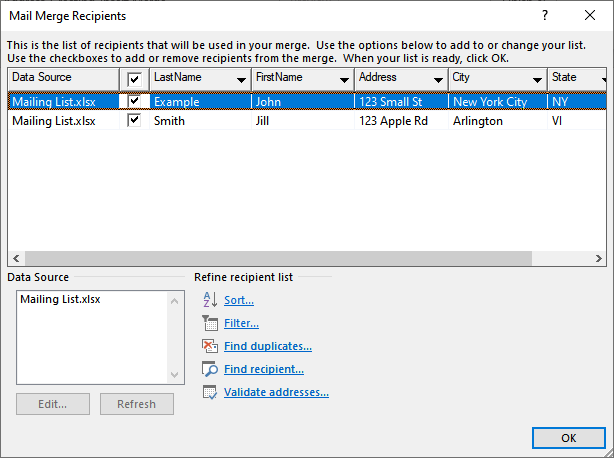
- If any addresses need to be edited, you can select Edit Recipient List to change them.
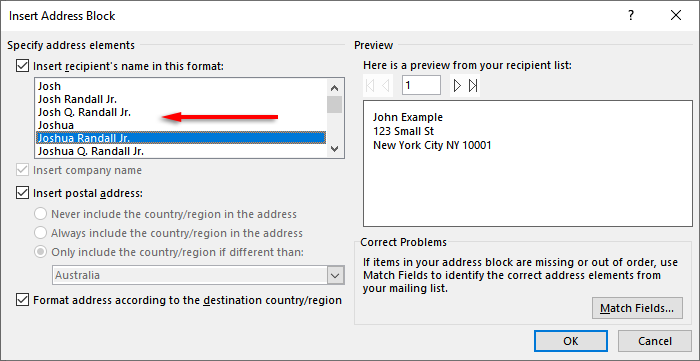
- Click Address Block in the ribbon. This window will show you how your address block will look with your data inserted. The left-hand side contains a list of options for how the name and address will be printed.
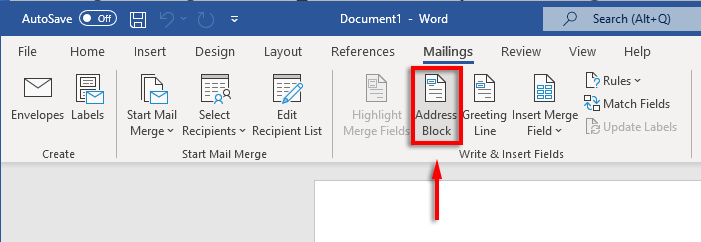
- Choose an option, then select OK.
Step 5: Print the Envelopes
If everything looks correct, it’s time to complete the mail merge and print addresses onto your envelopes. To do so:
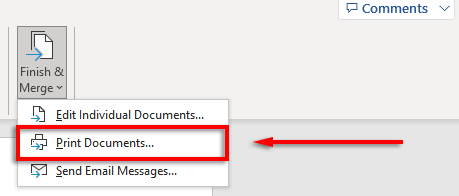
- Select Finish & Merge, then Print Documents…
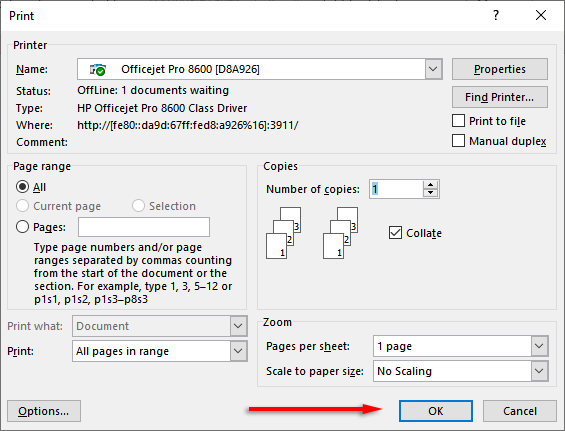
- Finally, make sure “All” is checked and select OK.
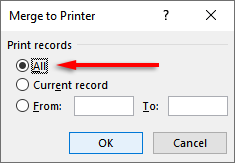
- Make sure the printer settings are correct, and your envelopes are correctly aligned then select OK again. Your printer should now begin printing your envelopes.
Note: Word also allows you to create and print labels if you’d rather use mailing labels instead of printing directly on the envelopes. You can add details in the address labels dialog box by clicking Mailing > Labels. You can also use mail merge to create several labels.
Don’t Forget Stamps
Unfortunately, you can’t print envelopes using Excel alone. However, with the combination of MS Word and Excel, the envelope printing process is incredibly easy. With this tutorial, you should have your next batch of mail ready to go in no time. Don’t forget to pay for postage!