Stop procrastinating and just do it
If you’ve waited on installing the free upgrade to Windows 11, now’s a good time. Most of the release bugs have been ironed out, even if some of the promised features—like Android app support—have yet to materialize.
There are multiple ways to install Windows 11 on your computer. You can use the Installation Assistant to upgrade without losing any data or perform a fresh install using a bootable USB drive.
Which method is better? How do they work? Here is an overview.
Upgrading an Existing Windows 10 Installation
Most people prefer installing the new OS without losing their existing data. Backing up your important files and then performing a fresh install is certainly possible, but it’s tedious and time-consuming.
By upgrading your Windows 10 system to Windows 11 using the Installation Assistant or Windows Update, you can preserve your files and settings while enjoying the new features. While this is not the first time that Windows has offered an option like this, it has never worked this smoothly before.
When Windows 11 first came out, the most reliable method was to use the Installation Assistant. Now you can achieve the same results by upgrading from Windows Update.
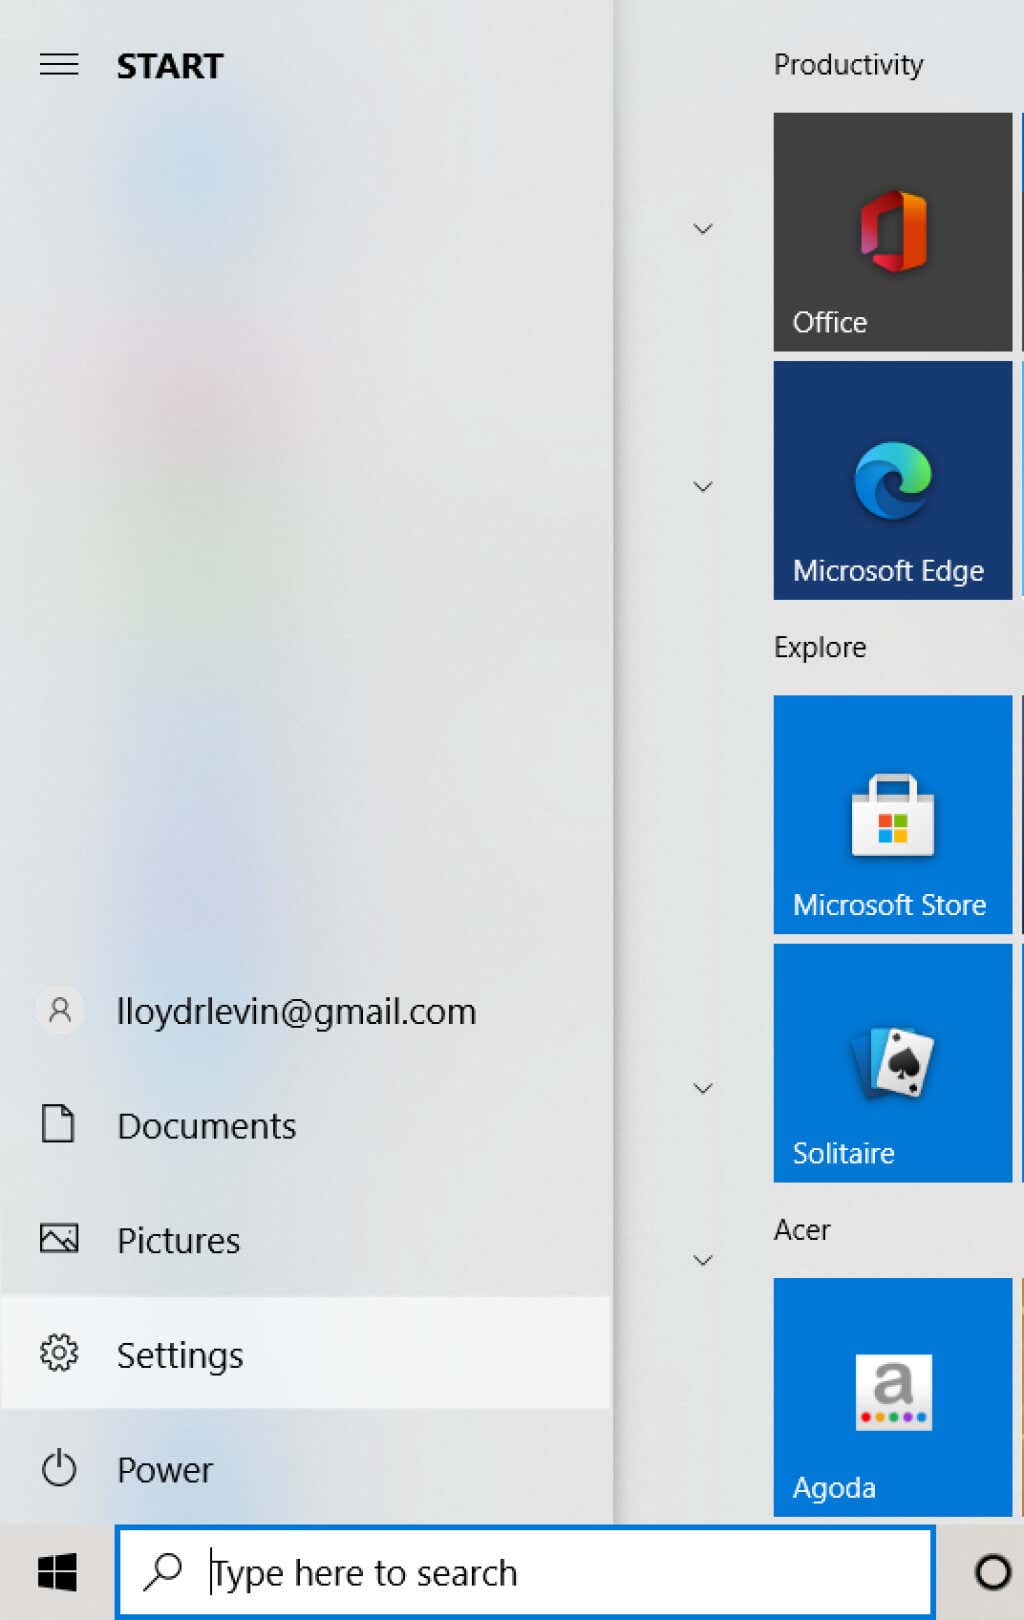
- First, bring up the Start Menu and open Settings.
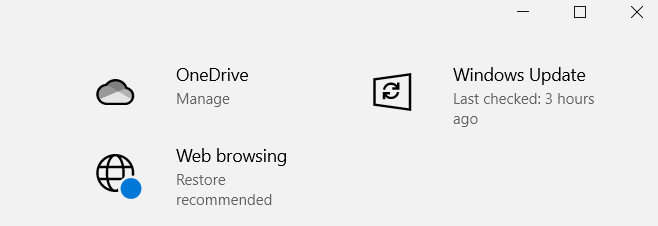
- Next, select Windows Update.
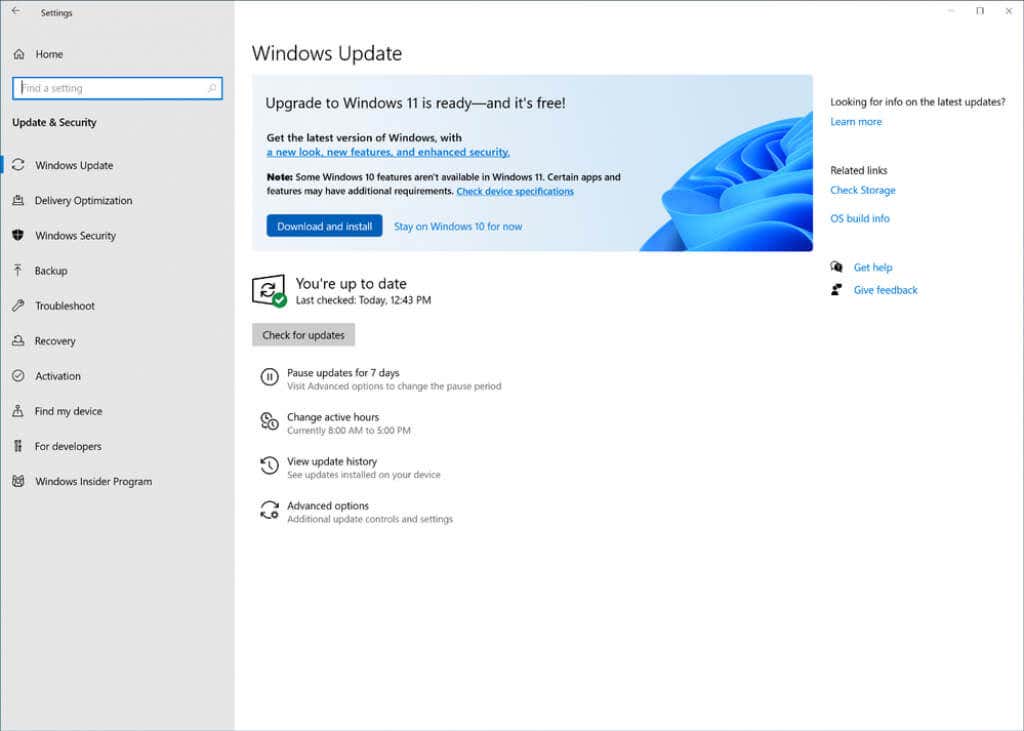
- Apart from the regular Windows updates, eligible systems will also see the option to upgrade to Windows 11 on this screen. Click on the Download and install button to proceed.
Windows will then download the necessary files in the background. You can continue using your PC even when the installation starts, as it only needs to restart for the final phase of the setup.
Creating a Bootable USB With the Media Creation Tool
Many users prefer performing a clean install of Windows 11 rather than upgrading. This can be a good idea if your system has gotten bogged down with bloatware and other software issues, as a reinstall will remove all data.
This cuts both ways – you also lose all the installed programs and files on disk. For file data, you can create a backup online or on an external hard drive, but applications will have to be reinstalled again.
That being said, installing from a USB is often necessary, especially if you have built a new desktop computer that lacks an OS. Even on an older system, a dedicated Windows partition makes a fresh installation easier.
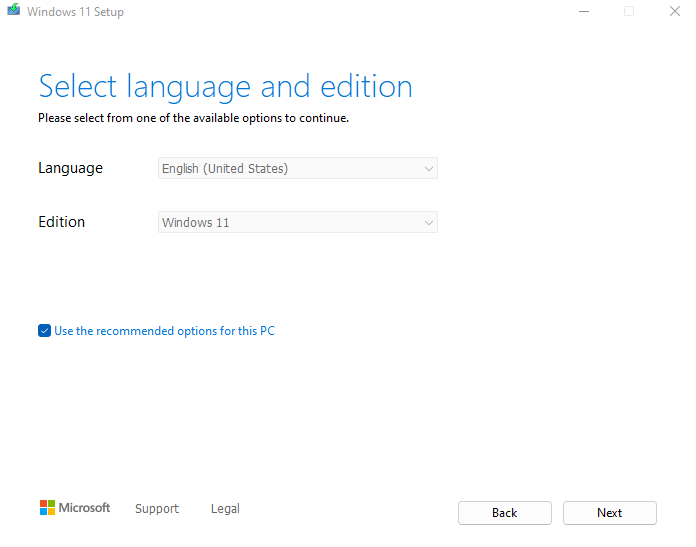
To help you get started, here is a step-by-step guide on creating Windows 11 installation media with the Media Creation Tool. It allows you to make a bootable USB flash drive or burn an iso file to a DVD for installing Windows 11.
Performing a Clean Install of Windows 11
Once you have prepared a USB or other installation media with the media creation tool, you can proceed with the actual installation. Before you start, here are some things to keep in mind:
- Check that your system supports Windows 11: The latest iteration of Microsoft’s flagship OS comes with more stringent minimum system requirements than you would expect. Apart from the usual memory and CPU constraints, your computer has to support UEFI secure boot and TPM 2.0 (Trusted Platform Module), among other things. Make sure to check whether your PC meets the specifications of Windows 11 with a PC health check app or another method.
- Backup your data: Making a change as significant as installing a new operating system can pose risks to your computer’s data. Even if your hard drive possesses separate partitions for your files and Windows, you can sometimes lose your data anyways. It’s a good idea to back up your crucial files to safeguard against data loss.
- Locate motherboard drivers: A clean install means wiping everything off your hard disk – including system drivers. And while Windows will automatically install the necessary drivers to keep your system running, things like the GPU or the sound card work better with their specific drivers. It is recommended to look up the driver packages for each of your PC components by heading to the manufacturer’s website.
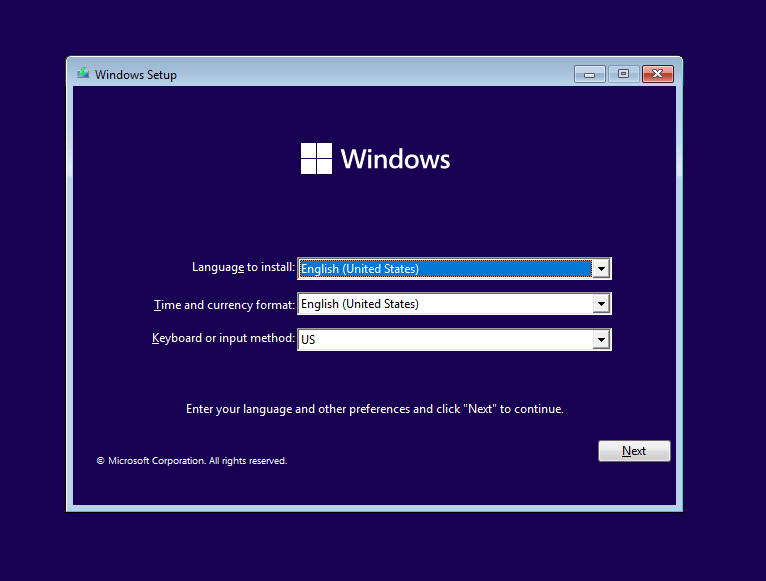
Now you can finally move on to the installation itself. Follow our step-by-step guide to correctly install Windows 11 on your PC from a bootable USB. You might also need to adjust the boot order in the BIOS of your PC to ensure it actually runs.
What Is the Best Method For Installing Windows 11 On Your PC?
If you’re just looking to transition to Windows 11 without much hassle, a direct upgrade is the best approach. You can use the Installation Assistant or select the option from Windows Update to download Windows 11 and install it over your existing operating system.
On the other hand, if you want a fresh start, performing a clean install is the way to go. You can create a bootable USB or DVD using Microsoft’s Media Creation Tool and then use it to install Microsoft’s Windows 11 on any compatible system.
Note that this method will wipe all data from the disk, so it’s usually only preferable for newly assembled PCs. If trying it on your existing PC, back up all your important data to an external HDD or a cloud service.


