What do you do if you have installed Ubuntu on your PC alongside Windows but don’t want to use Linux anymore? You now have a Linux partition on your hard drive that is taking up space you want to use for your Windows folders and files.
This article will show you how to safely uninstall Ubuntu in Windows 10 dual boot without losing data or applications.
The first part of this process is to remove the Linux operating system. Keep in mind that this will also remove all your Ubuntu data and system files. Be sure to save anything you don’t want to delete somewhere else. The second part of the process is to change the Windows boot loader.

Before making any changes to your computer, you always want to back up your files. Even if you have only been using Linux for a short period, there will most likely be data you want to save.
Also, you want to back up all the critical data from your Windows partition. Use an external hard drive, cloud storage, or DVDs so that you don’t lose any data.
Make sure you have a USB or DVD of Windows. You can download a copy of Windows 10 from Microsoft.
Delete The Linux Partition In Windows
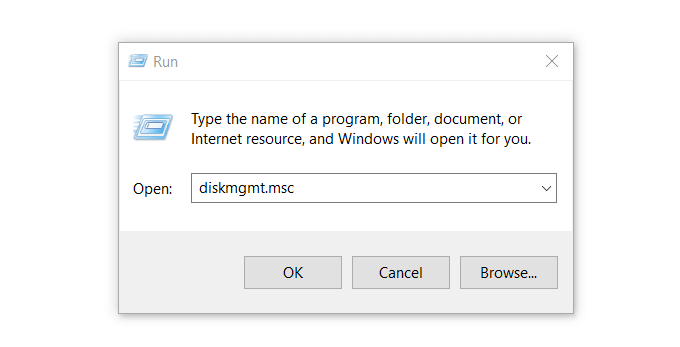
- Start by logging into Windows. Hold down the Windows key + R and type diskmgmt.msc to open the Windows disk management tool.

Linux partitions are differentiated from Windows because they don’t have a drive number and file system.

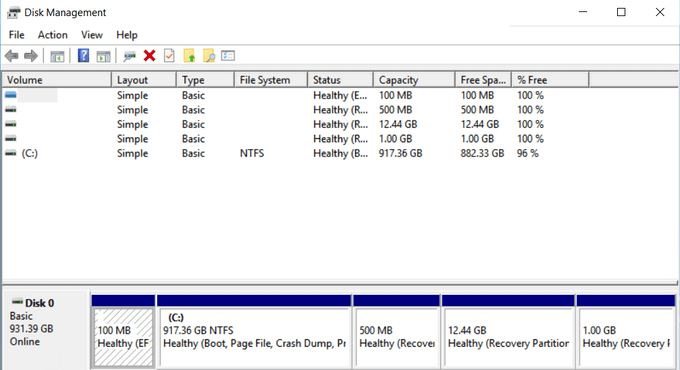
Windows partitions can be identified by the drive label such as C, D, and E. They are also usually FAT or NTFS files.
- To delete the Linux partitions, right-click on each one and choose Delete Volume.


- A warning will pop-up letting you know that you are trying to delete a partition that wasn’t created by Windows. Then, you will be asked if you want to delete it. Select Yes.
Deleting the partitions will free up space on your drive.

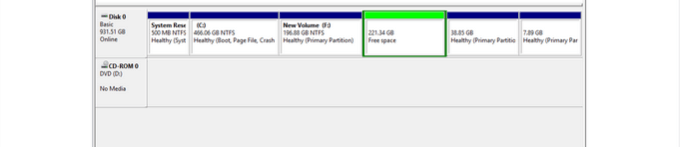
- If you have other Linux partitions, delete them in the same manner. Right-click on Free space and select Delete Partition. Then click Yes when the dialogue box pops up.
- Now the free space is changed to unallocated space. To expand your Windows partition to occupy the free space, right-click on the Unallocated space and choose Extend Volume from the dropdown options.
- The Extend Volume Wizard will then open. Click Next > Next > Finish.


After the process is complete, you will see only one volume meaning you have claimed all your disk space back to Windows.
Once you remove Linux partitions from your computer, the boot loader for Ubuntu is still there and needs to be removed as well. There are several ways to do this.
Remove the Grub Bootloader
- Go to the Windows Start menu and click on the power icon. Then press and hold down the Shift key and select Restart.
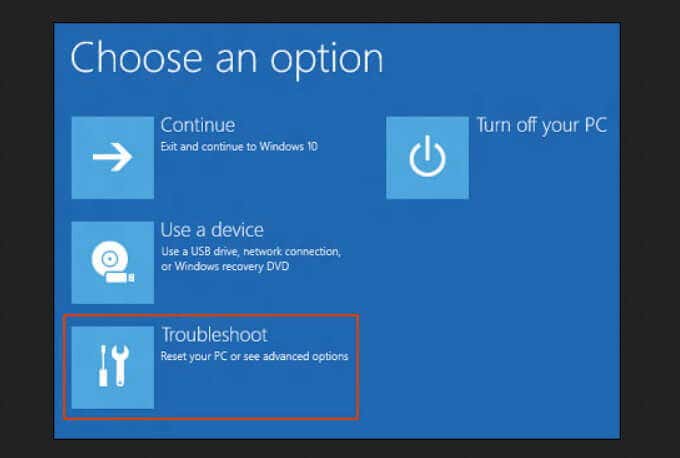
- Continue holding down the shift key until you see the Choose an option screen.
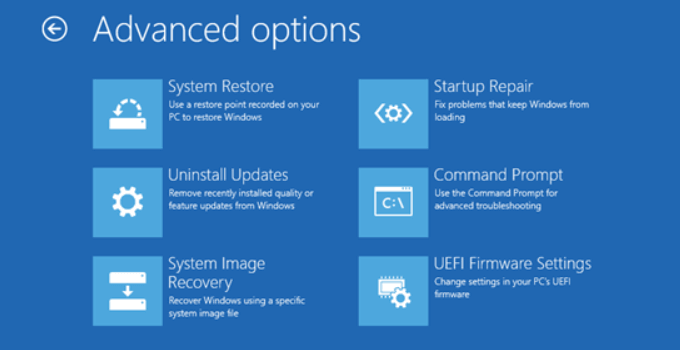
- Select the Troubleshoot option > Advanced options > Command Prompt. Choose your user account from the Command Prompt options and enter your password.
- This will open a command-line terminal. Type bootrec /fixmbr and hit Enter. See the message that the operation has completed successfully.
- Next type bootrec /fixboot > Enter. See the same message that the operation has completed successfully. Type another command bootrec /scanos > Enter. This command will scan all your disks to see if there are any instances of the Windows OS. The time it takes to complete depends upon your system specifications and the size and number of disks you have installed. When the scan is complete, you will see the Windows installations you have on your disk.
- To make Windows your primary boot OS, type the command bootrec /rebuildbcd > Enter.
- If you have multiple Windows installations, you will see a list of all of them and where they are stored on your drive. Type A > Enter to complete the process.
- To close the terminal, type exit > Enter. You have now successfully removed everything related to Ubuntu. Your PC will now boot directly to Windows.
Overwrite the Linux Boot Loader with Windows Boot Loader
- To overwrite the Linux boot loader with the Windows boot loader, insert the USB Windows Installer you downloaded above into your computer and restart it.
- After booting your system from the USB recovery disk, click on repair your computer.
- From the next screen, choose the Troubleshoot option.

- Choose Command Prompt from the next Advanced options screen.

- From the command prompt window, enter bootrec.exe /fixmbr. This will fix the Windows boot loader.
- Restarting your computer now will boot it from the hard drive. Windows will now work as it should, and Linux will no longer be on your system.
What if You Don’t Have a Windows Installation CD or USB?
You can still uninstall Ubuntu dual boot from Windows 10 or Ubuntu as explained below.
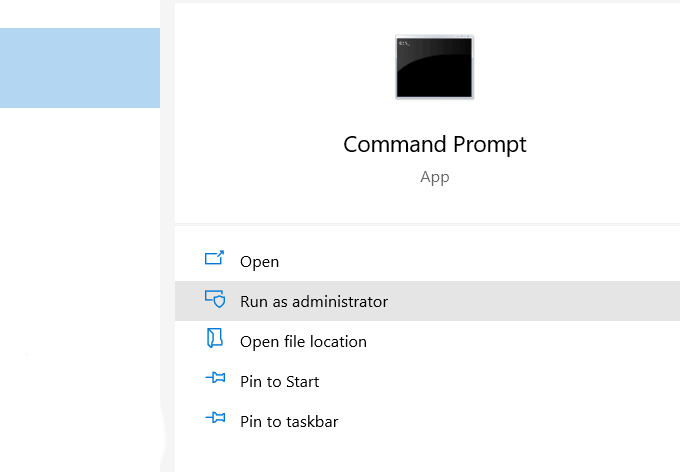
- From Windows 10, run the command prompt as Administrator.

- Run the command below to set the correct EFI executable as the default boot entry:
bcdedit /set “{bootmgr}” path \efi\microsoft\boot\bootmgfw.efi
- To see if the above command worked, reboot your computer. If successful, it should boot directly to Windows.
- To delete the partitions, follow the steps above, starting with typing diskmgmt.msc (the Delete the Linux Partition in Windows section)
Change Boot Order Using UEFI
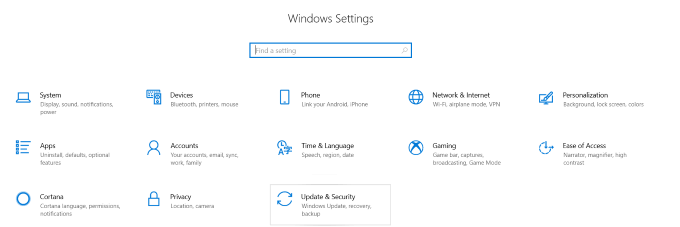
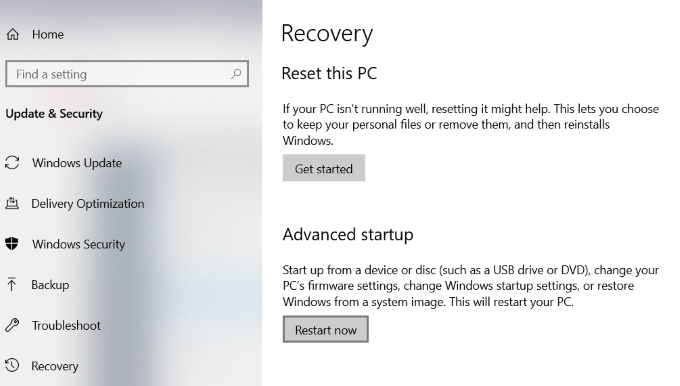
- You can change the UEFI boot order directly from the firmware (BIOS) settings. To access the BIOS from Windows 10, click on the Start button > Settings > Updates & security.

- On the left-hand column, click on Recovery. Under Advanced startup, click Restart now.

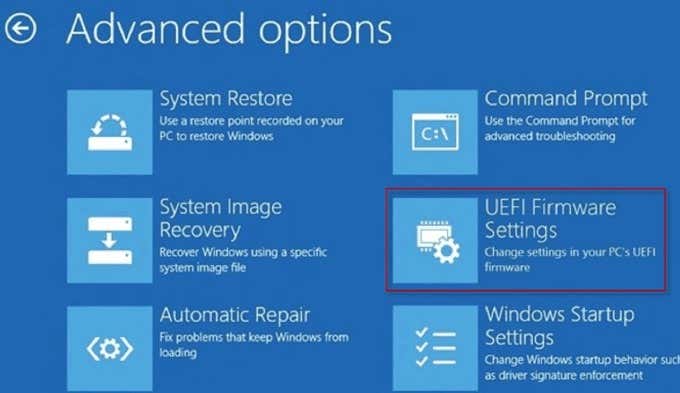
- Choose Troubleshoot > Advanced options > UEFI Firmware Settings. On the UEFI Firmware Settings screen, click Restart. Your computer will then restart and load into the BIOS.

Uninstalling Ubuntu from Windows 10 dual boot is not difficult. You can follow one of the methods above to do so without losing any data.